DIY Punch Needle Floral Tote with Clover's Punch Needle Hoop and Punch Needle

*This post was created through a paid partnership with Clover. However, all opinions are honest and 100% my own.
*This post contains affiliate links. For more information, please see my disclosure page here.
As a mom to three young children I absolutely love totes to carry all of the fun things around, and I love personalizing them. With Summer just around the corner, I thought it would be fun to add some extra whimsy and charm to a tote bag to travel in style for all of the Summer adventures. Today I am so excited to partner with Clover to bring a personalized tote to life! Today we are using two of Clover’s newest tools, Punch Needle and Punch Needle Hoop, to create a Punch Needle Floral Tote.

Punch needle embroidery goes back thousands of years, and it is making a real comeback in home decor and accessories. The beauty with punch needle is that it is fully customizable to whatever design your heart desires. Punch needle pushes thread or yarn through the fabric, creating a loop. From vintage-inspired to more modern designs, punch needle is a really fun way to add some charm into your life!
Clover’s new tools, Punch Needle and Punch Needle Hoop, allow you to easily create highly textured designs full of so much interest and whimsy!

New to Punch Needle Embroidery? Then you are in luck! Please enjoy a recent episode of Coffee & Crafting showcasing an Intro to Punch Needle Embroidery. Then continue below for the details for this Punch Needle Tote Project!
I just love how this floral tote turned out, and I had so much fun making it! Follow below to see how to make your own!
Enjoy the video below to learn how to make your own punch needle embellished tote, then follow along for the step-by-step tutorial to make your own this Summer!
Continue below for the step-by-step pictorial to make your own Punch Needle Floral Tote.

To Make Your Own Punch Needle Floral Tote, you will need:
Set Up The Punch Needle Hoop

Attach the legs to the bottom of the Punch Needle Hoop.
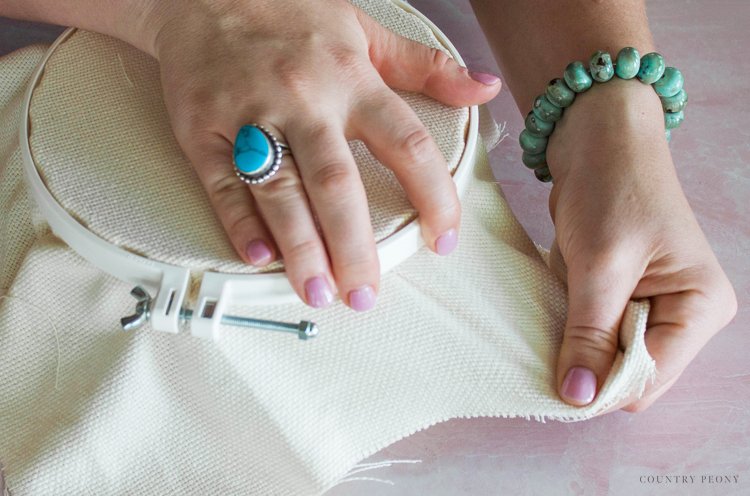
Place the monk’s cloth over the inner hoop, then attach the outer hoop over the inner hoop.
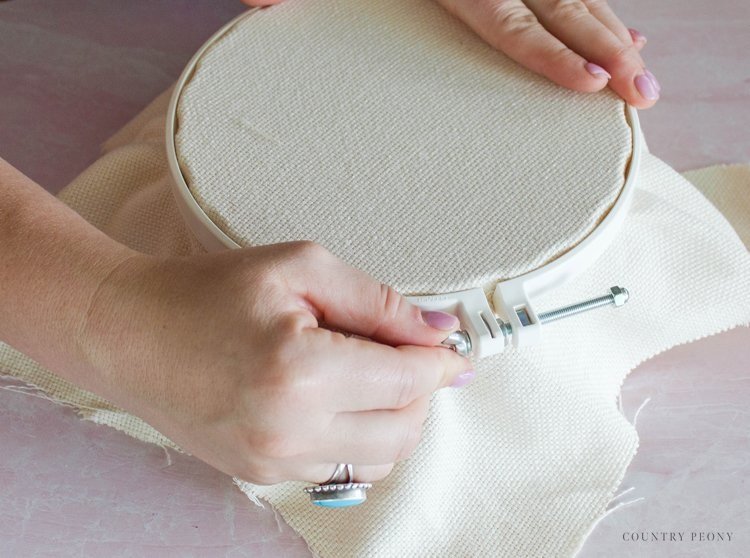
Tighten the screen on the outer hoop, and pull the fabric tightly at the same time. Continue to tighten the screw until the fabric is taut.
Create the Punch Needle Pattern

With a fabric marking pen, create a pattern onto the monk’s fabric. Then turn the Punch Needle Hoop over and trace the same pattern on the other side.
I chose a simple floral design, but you can choose whatever your heart desires!
Set Up the Punch Needle
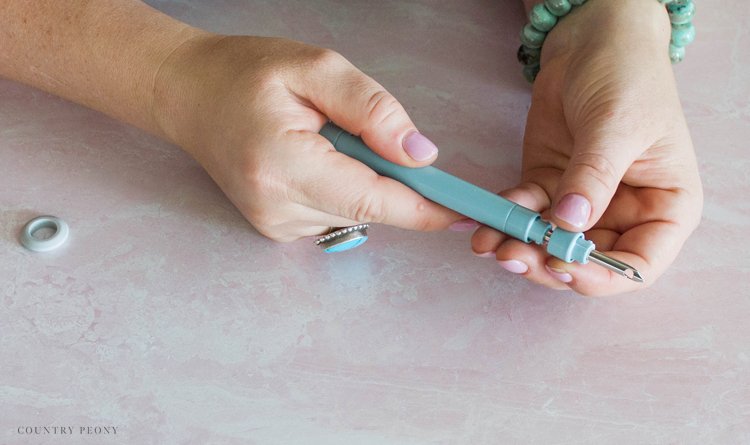
Clover’s Punch Needle has four different spacer rings allowing for four different loop sizes. For this project, I went with two spacer rings, or 1 3/4 inch needle length, to create medium loops.
Twist off the spacer rings from the bottom, and twist them onto the top of the Punch Needle to secure them in place.


Push the ring onto the Punch Needle to act as a finger rest.
Thread the Punch Needle

Use the included tapestry needle and thread to thread the yarn through the Punch Needle.
First, thread the yarn through the string of the tapestry needle.

Then, insert the tapestry needle through the back of the Punch Needle and through to the front.

Next, thread the tapestry needle through the eye of the needle tip in the direction of the arrow.

Leave about 2 inches of yarn hanging out of the eye of the Punch Needle.
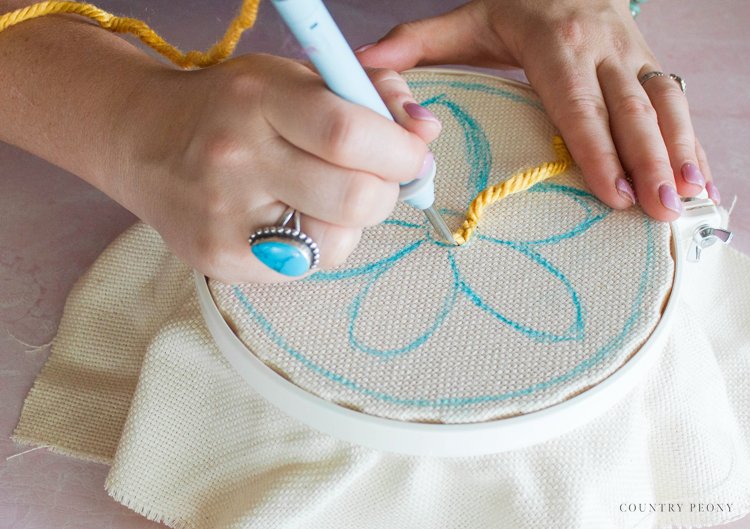
Stitch the Design onto the Monk’s Cloth Using the Punch Needle

*Ensure there is enough yarn and slack on the yarn before you start your project.
Push the Punch Needle straight into the monk’s cloth until you reach the base of the needle, then pull the Punch Needle straight up.
Then, stay close to the fabric with the Punch Needle and continue with the next stitch.
*Keep the needle close to the fabric, so the stitch isn’t pulled out of the fabric.
*Your stitch should be the same direction as the bevel edge of the Punch Needle.
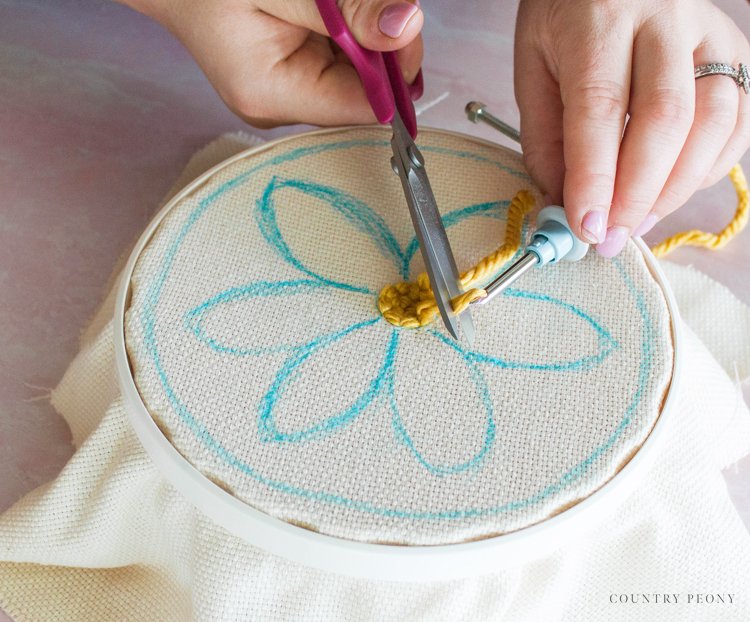
Continue to create stitches until you reach the end of your section. Then trim.

For this project, I wanted to use a stitched surface (front side) and a looped surface (back side of the loop) to create fun texture and dimension among the flower.
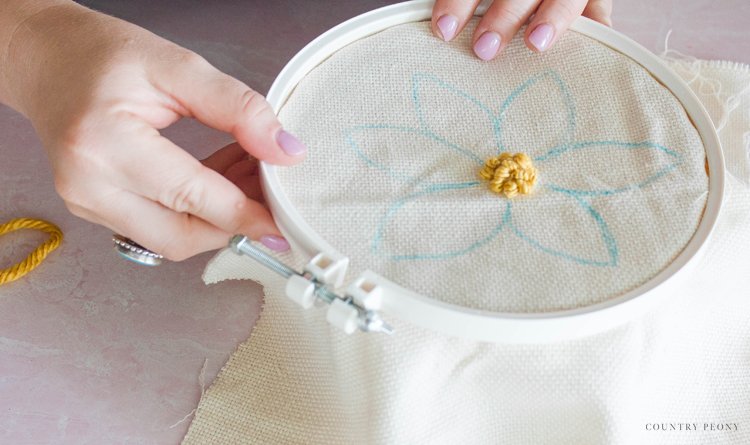
To create this look, take the monk’s cloth out of the Punch Needle Hoop then turn it over and reattach to the Punch Needle Hoop (this is why I encouraged you at the beginning to create a pattern on both sides).
Then, using the Punch Needle to create stitches for the petals.

To finish this simple design I wanted to create a background/border that would ground the design. So, I turned the monk’s cloth over once more and used the Punch Needle to create more stitches.
Continue to stitch loops into the monk’s cloth with the Punch Needle until you complete the design.
Enjoy this process!
Trim the Punch Needle Design

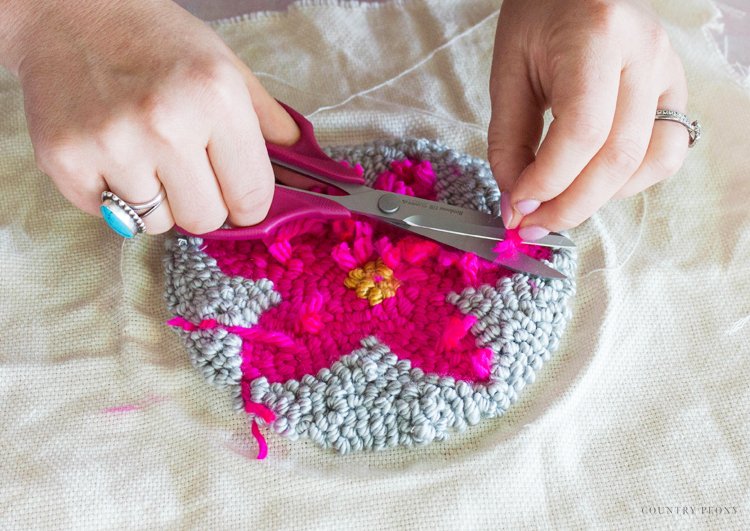
Once the stitching is done, it is now time to clean up and trim the design.
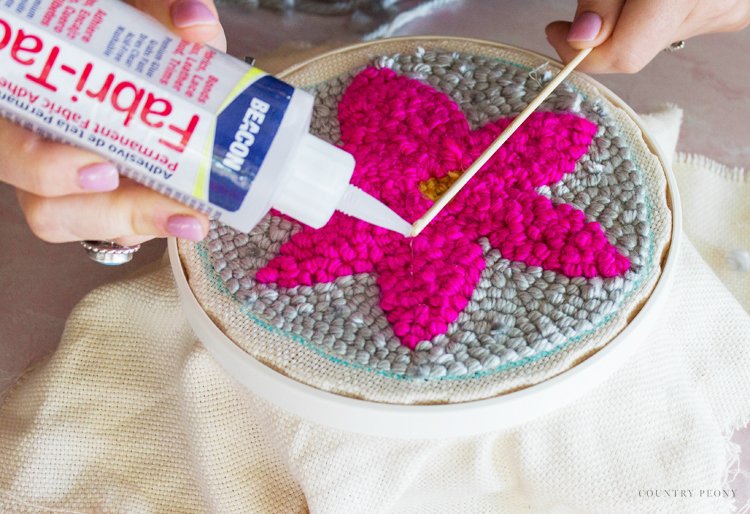
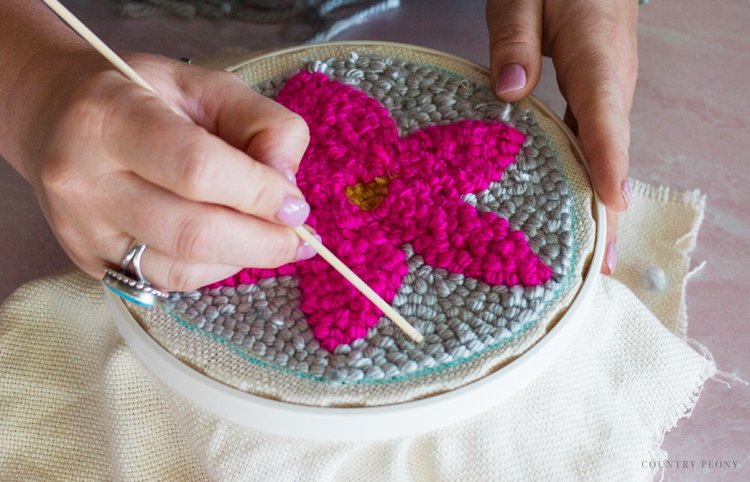
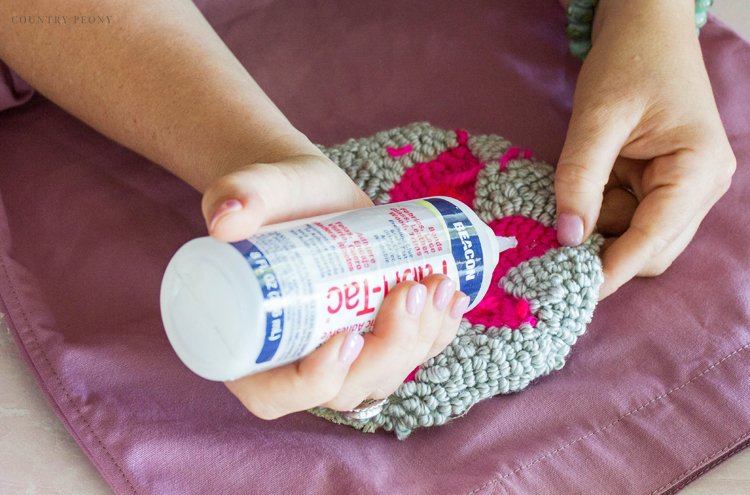
On the front side of the design cut any extra yarn ends, and use a fabric glue and a skewer to apply glue to the yarn ends to secure them and your design.
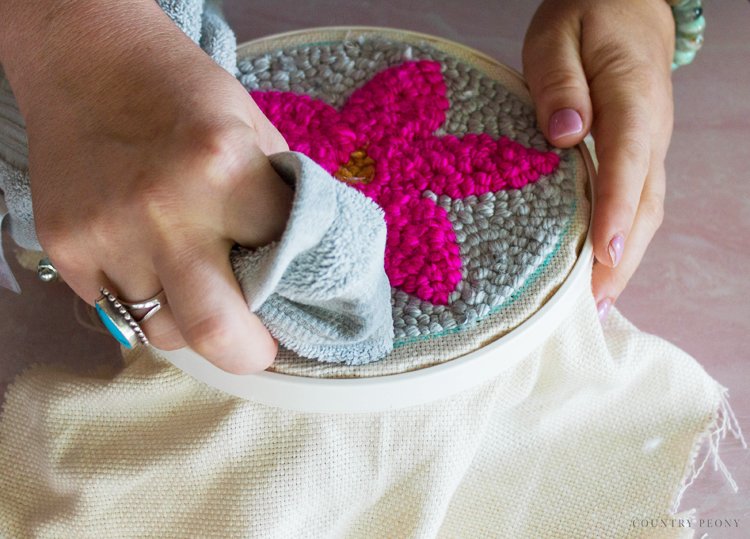
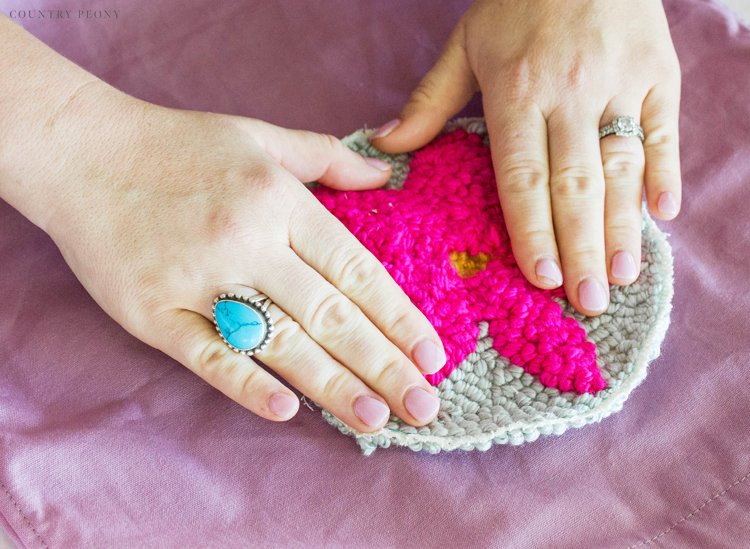
Once the glue is dry on the front of the design, press a wet towel onto the marker lines to erase them.
Then, turn the design over and trim and glue the back of the design.
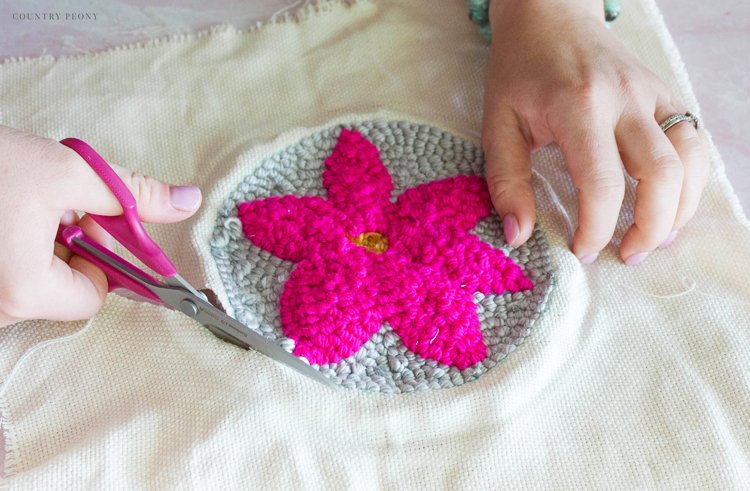
Cut the monk’s cloth around the punch needle design to create a large patch.
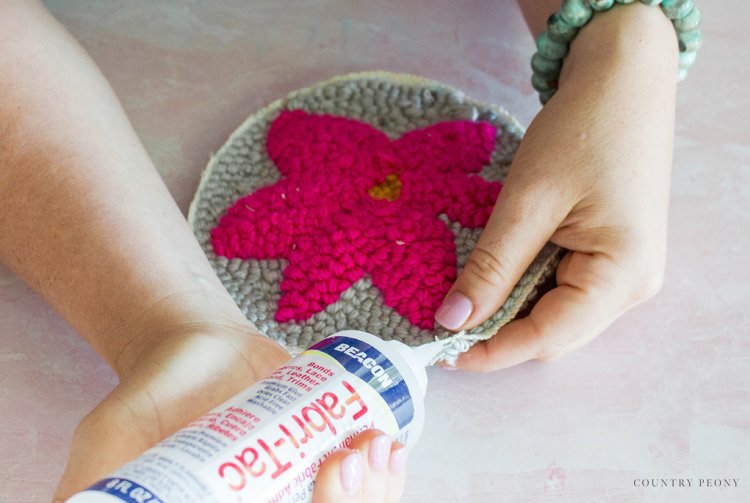
Then, use fabric glue to secure the monk’s cloth edges.
Attach the Punch Needle Patch to the Tote
Apply fabric glue to the back of punch needle patch, then directly attach it to the tote.

Lastly, use a needle and thread to stitch around the patch edge and to secure it to the tote.
Enjoy Your Custom, Punch Needle Tote

I just love how cheerful and whimsical this project turned out, and I love how much fun it was to make it even more. I am officially hooked on punch needle and I can’t wait to play with Clover’s Punch Needle Tools in the near future.
I hope you enjoy making yours just as much as I did!

Thank you so much to Clover for the opportunity to work with their Punch Needle Tools to create this fun and whimsical tote!

Thank you so much for following along. I believe crafting is more fun when we share our projects. Please email me at elizabeth@countrypeony.com, or please tag me @thecountrypeony or #countrypeony to show me your beautiful, custom creations!
Happy Crafting!


