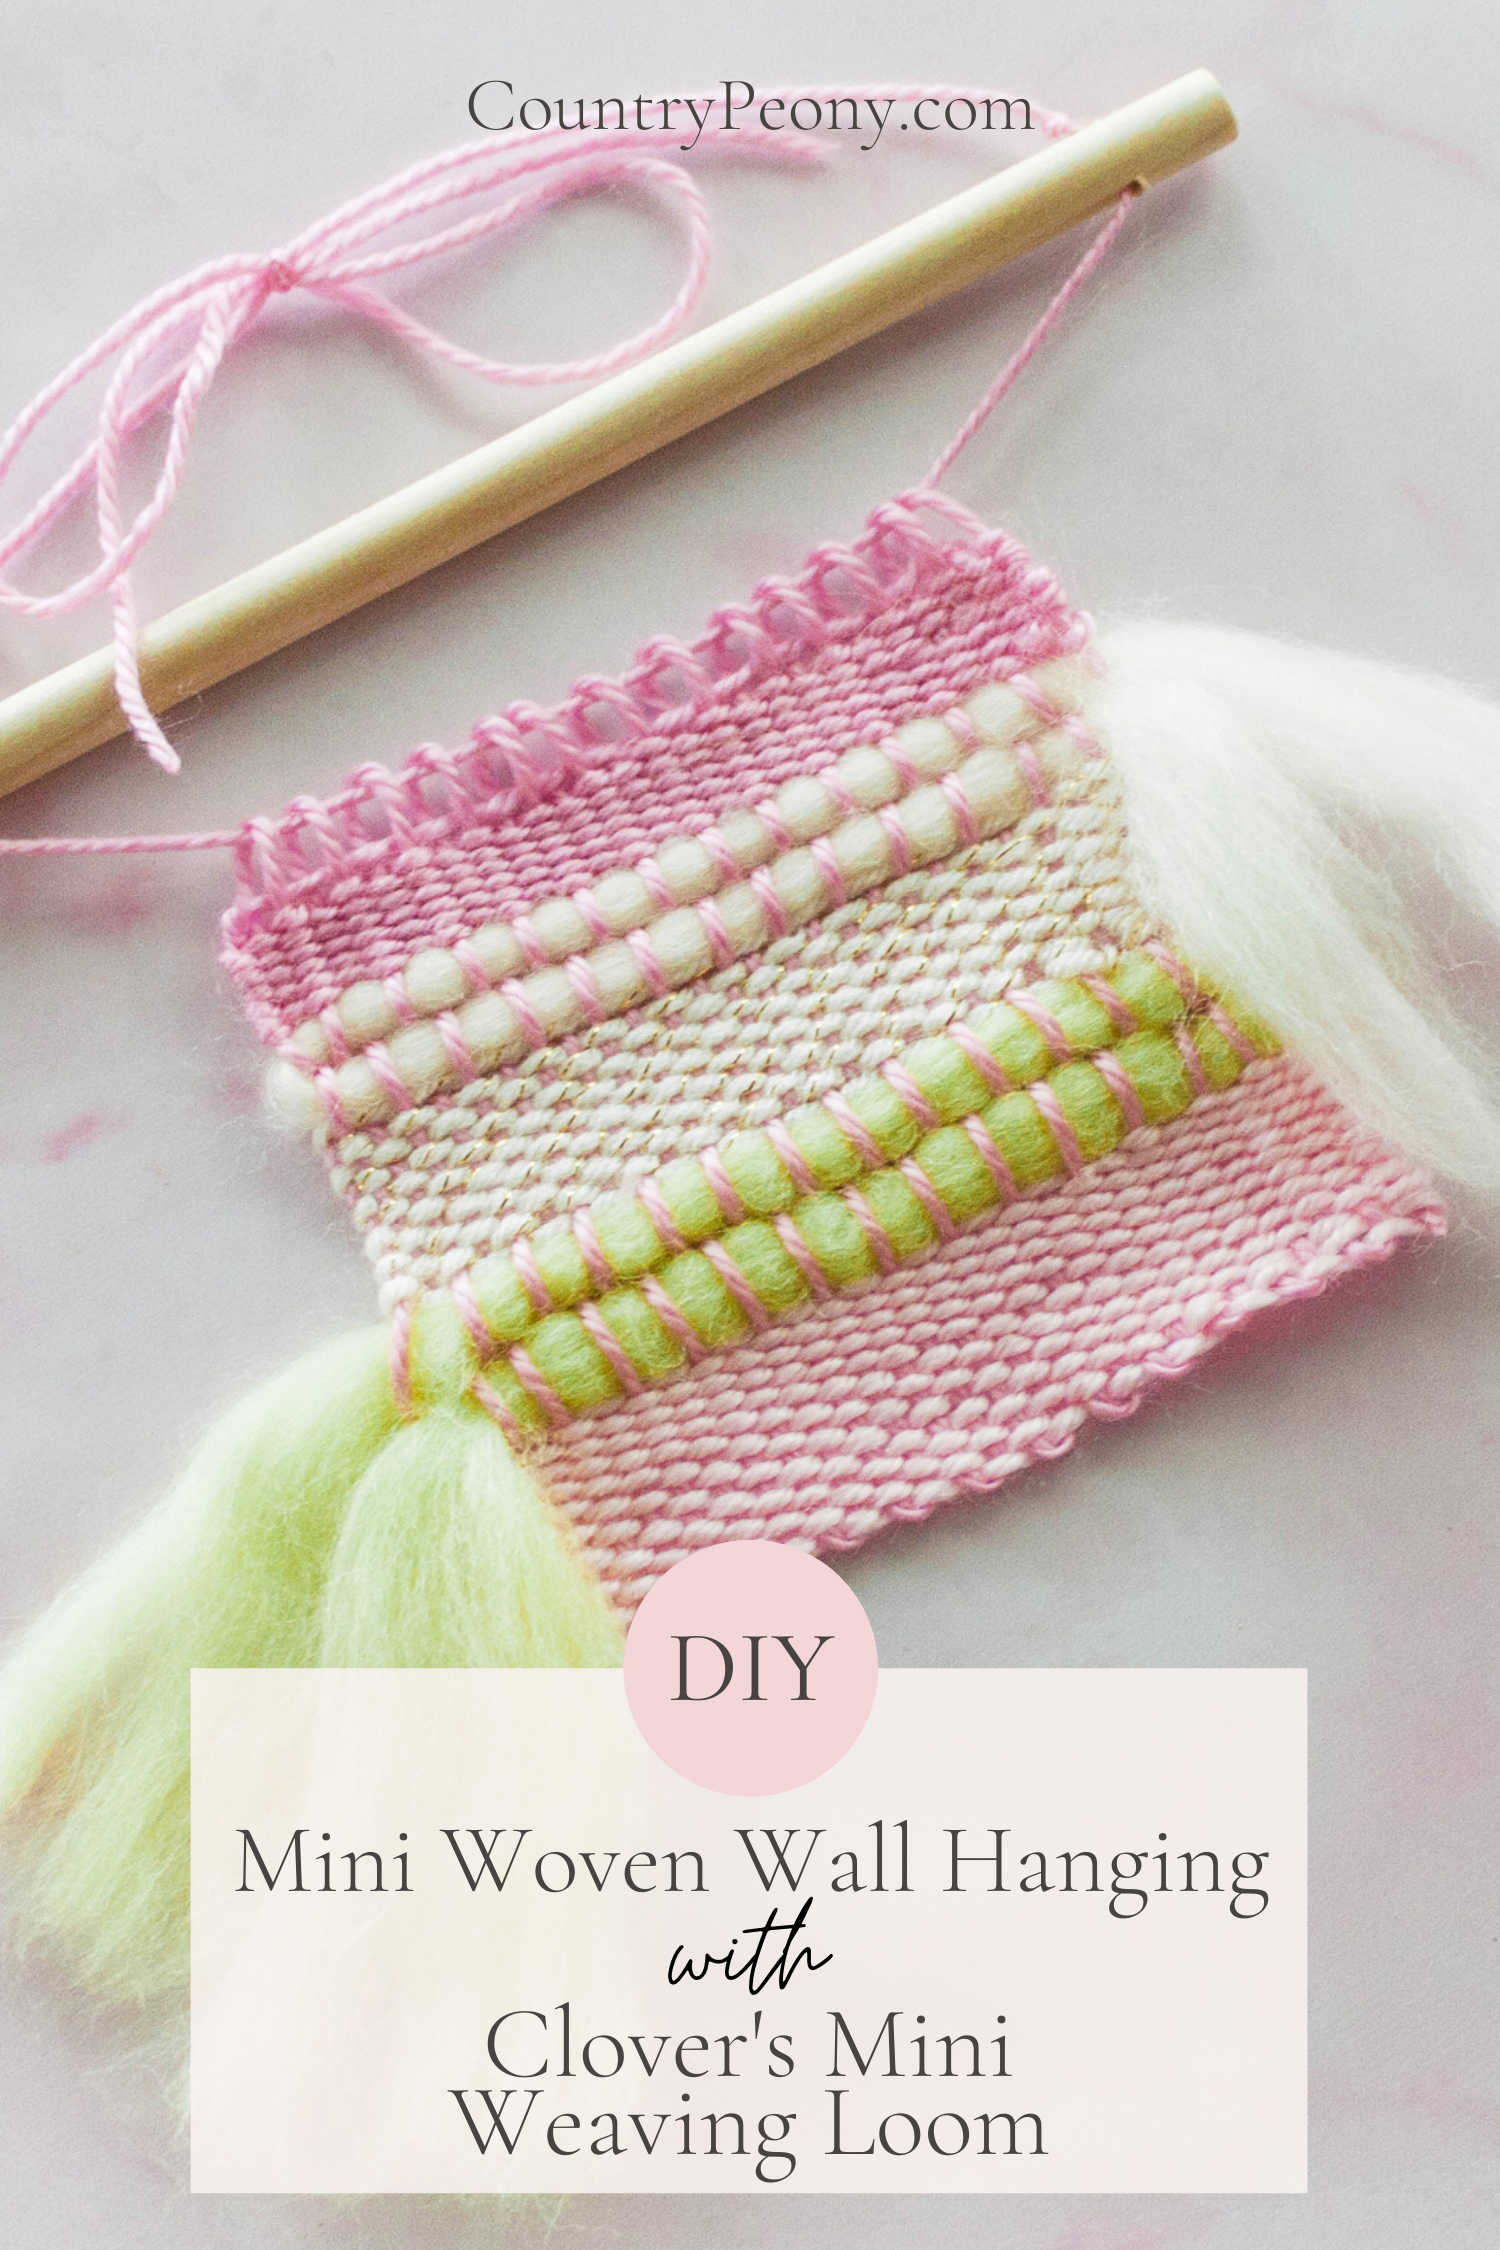
DIY Miniature Woven Wall Hanging with Clover's Mini Weaving Loom

*This post was created through a paid partnership with Clover. However, all opinions are honest and 100% my own.
*This post contains affiliate links. For more information, please see my disclosure page here.
The art of weaving has always fascinated me. Eventhough it dates back almost 12,000 years ago, weaving has recently become more popular since the introduction of woven wall hangings gracing home decor sites and Pinterest. I have wanted to try the time-honored craft for a while, and so I was thrilled when I discovered that one of my favorite companies, Clover, makes a Mini Weaving Loom.
Want to see more projects using Clover’s amazing products? Then click HERE.
I created my own miniature wall hanging for this project, and I love how it turned out. In addition to yarn, I incorporated Clover’s Natural Wool Roving into this project and I love the whimsical flair that it adds. You can embellish your wall hanging in so many different ways. You can add fringe to the bottom, or you can even incorporate a different medium like a fun ribbon into the wall hanging. It is up to you and your imagination. For today’s project, I kept it pretty simple.
This was my first time weaving and working with Clover’s Mini Weaving Loom, but like their other amazing products Clover’s Mini Weaving Loom was so simple and fun to use. This technique can be used to create a simple square motif, and it can be applied to many things. Whether that is a wall hanging like I created here, or a homemade gift like a potholder or a small purse. The possibilities are endless.
For your convenience, I have created a step-by-step video so you can see how I made the wall hanging using Clover’s Mini Weaving Loom. Then continue below to follow the step-by-step images to make your own DIY Miniature Woven Wall Hanging.
Enjoy the video below to learn how to make your own wall hanging with Clover’s Mini Weaving Loom, then follow along for the step-by-step tutorial to make your own!
Follow Below for the Step-By-Step Picture Tutorial

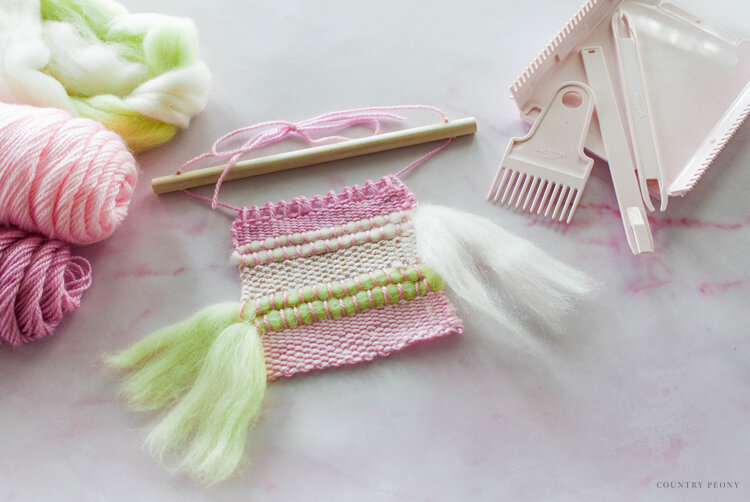
To make your own miniature wall hanging, you will need:
Wooden Rod for Hanging
Set Up the Loom & the Warp
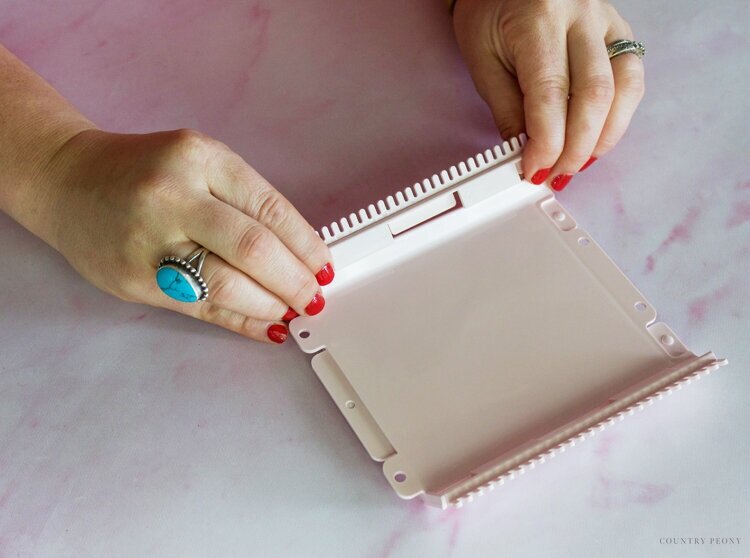

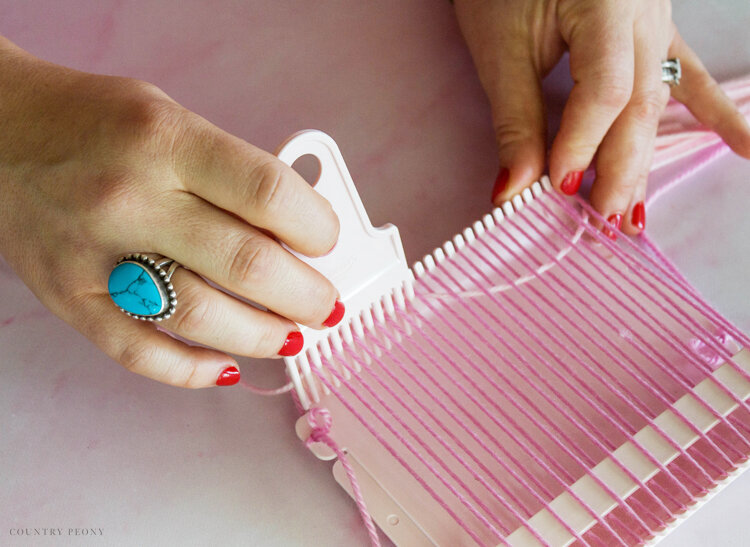
Attach the spacing bars on the upper and lower part of the frame.
Use a sturdy and straight yarn to act as the warp.
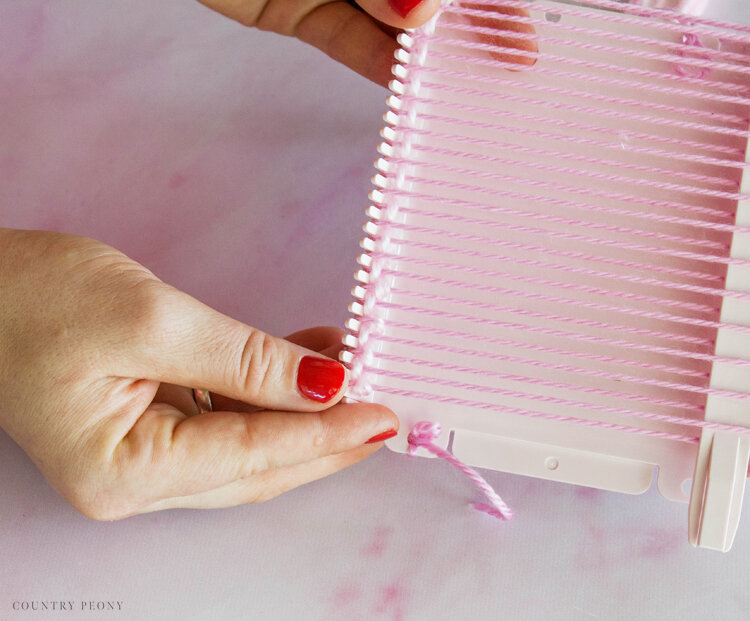
Make an initial knot.
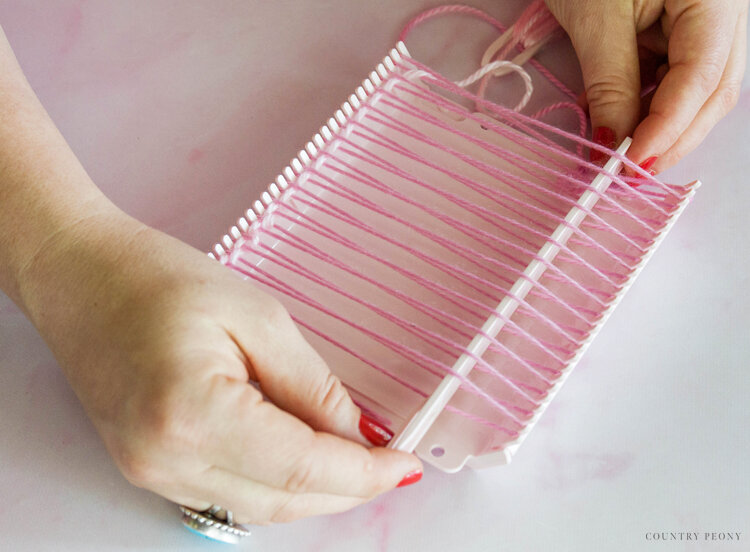
Pull a loop of yarn through the side hole.
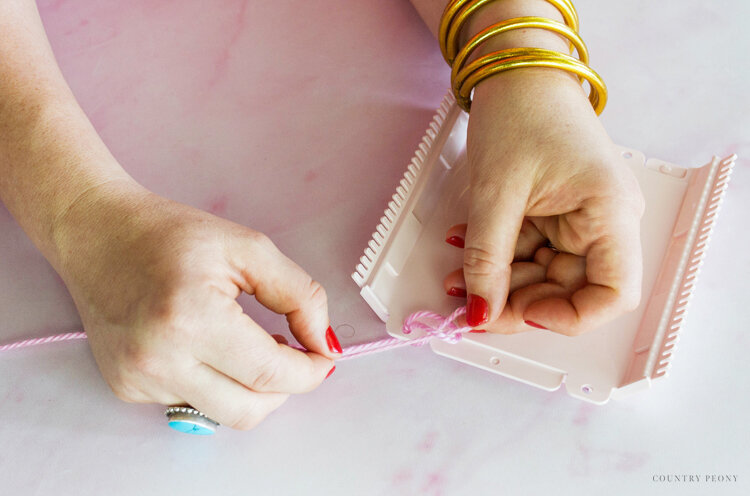
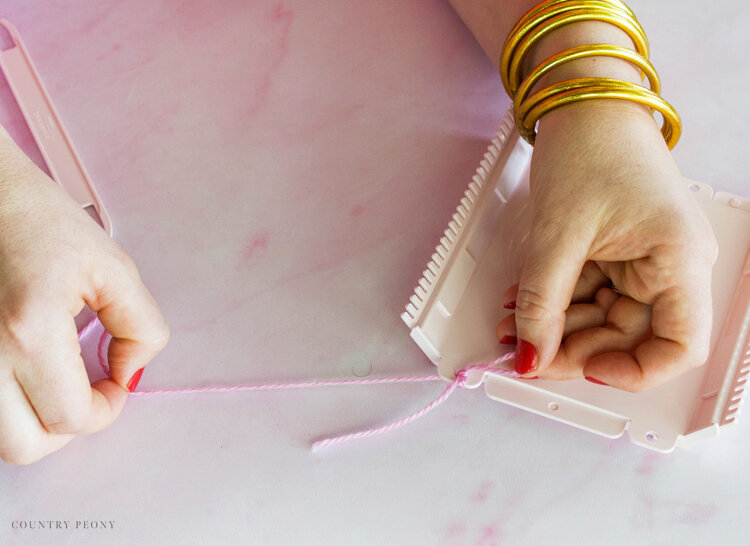
Then, pass the end of yarn through the loop to create another loop.
Pull the yarn tightly to create a knot with a loop.

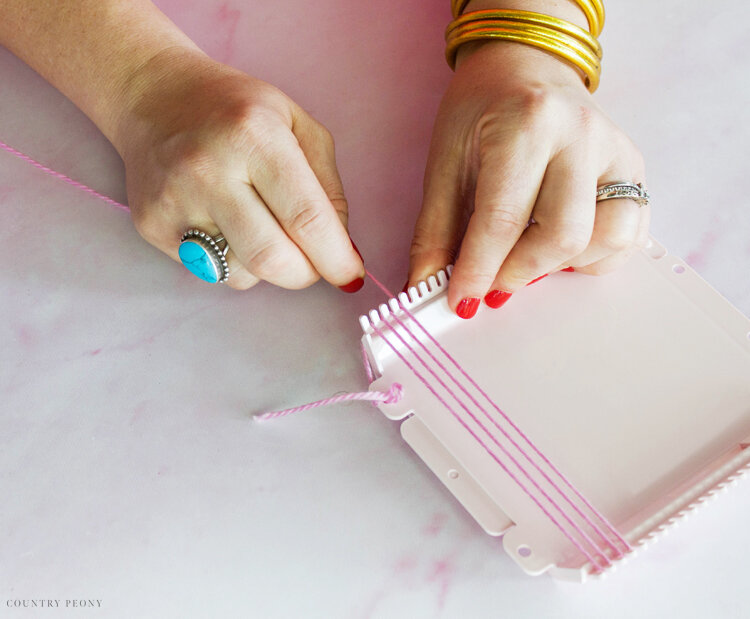
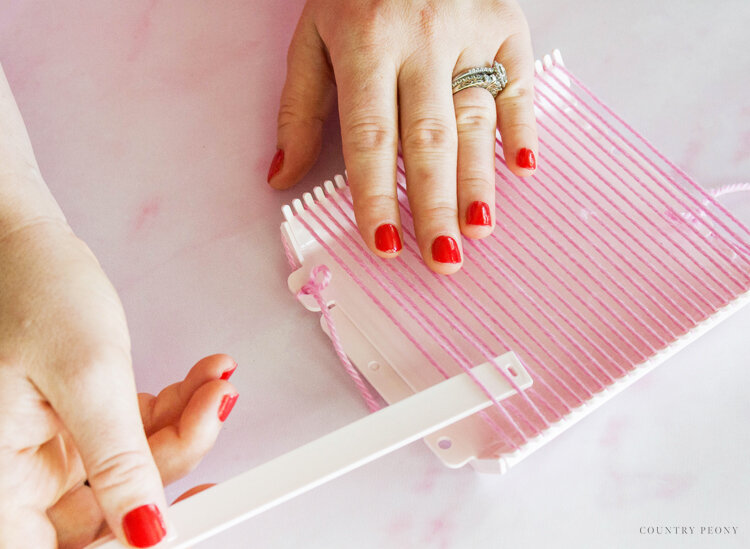
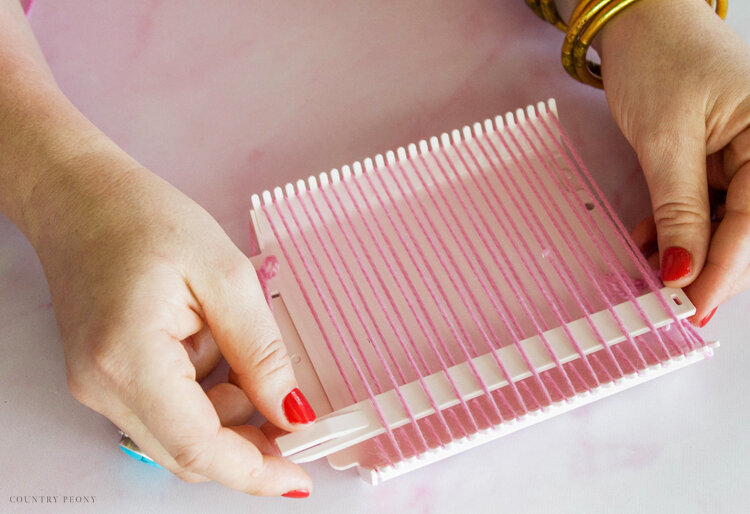
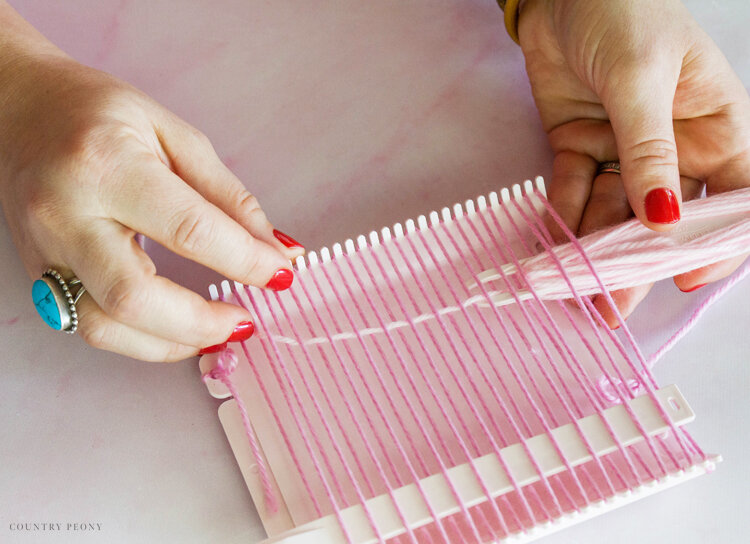
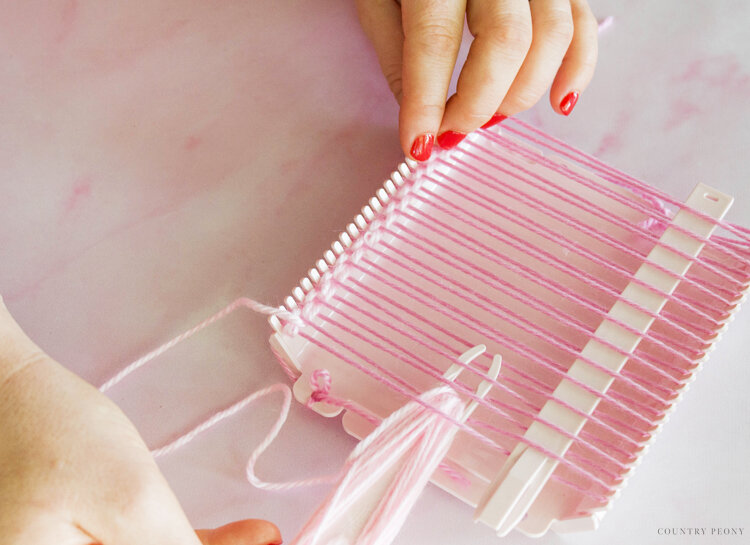
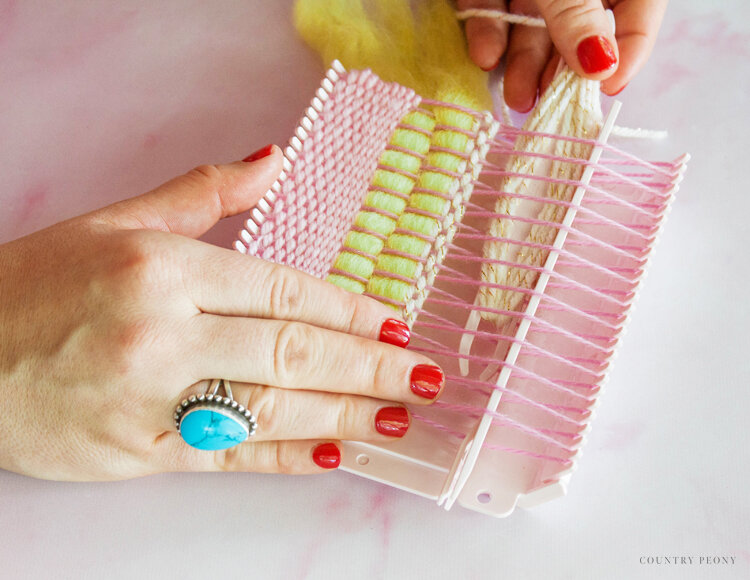
Once the knot is secure, string the yarn from the back of the loom to the lower groove and then to the upper groove.
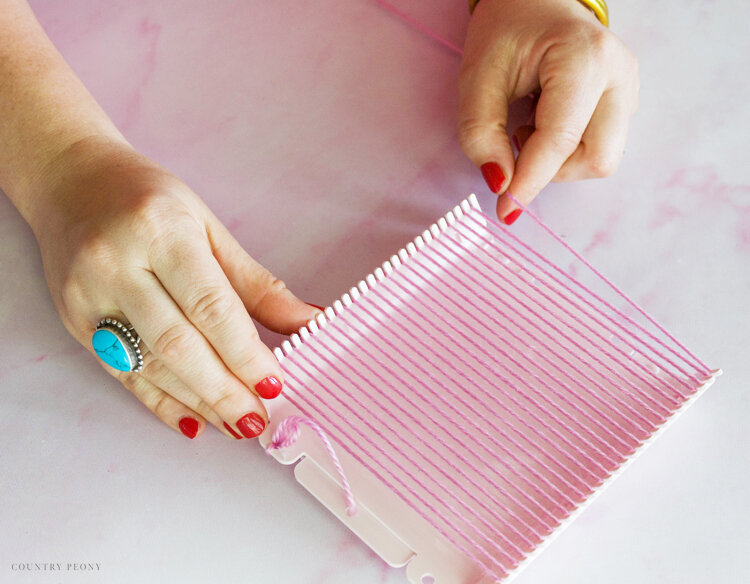
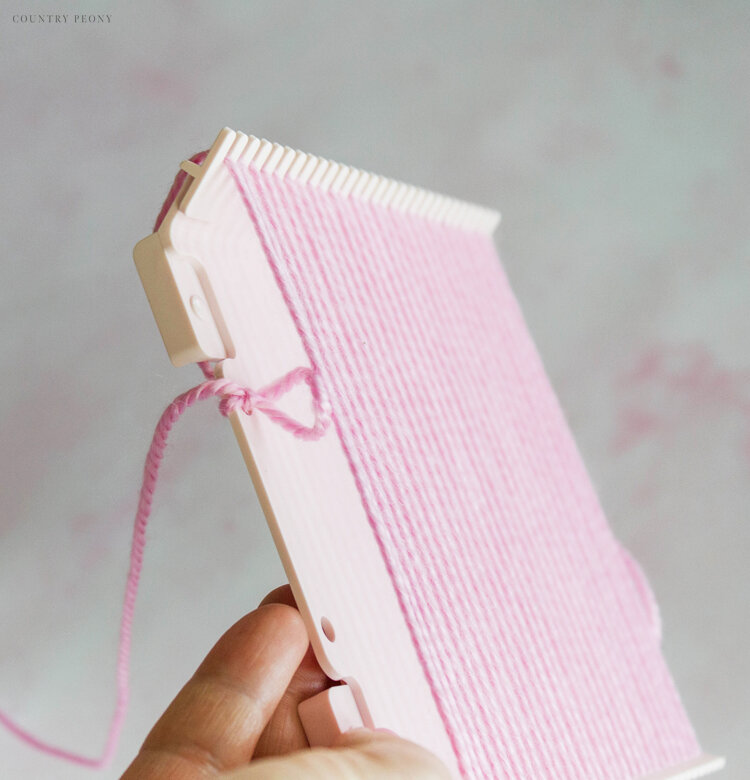
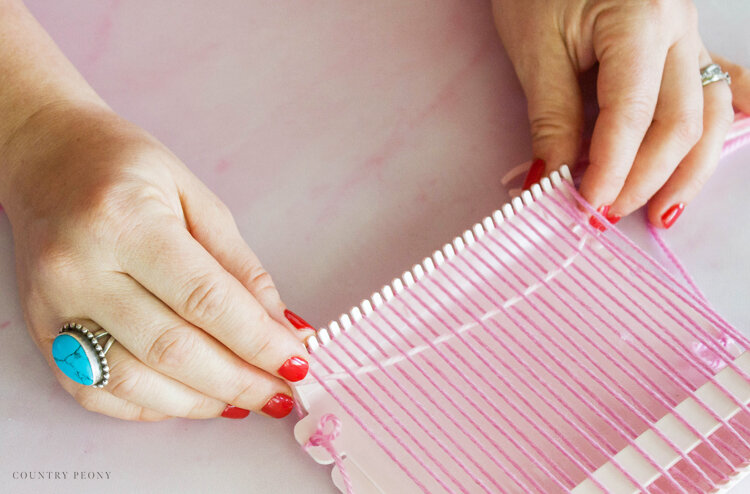
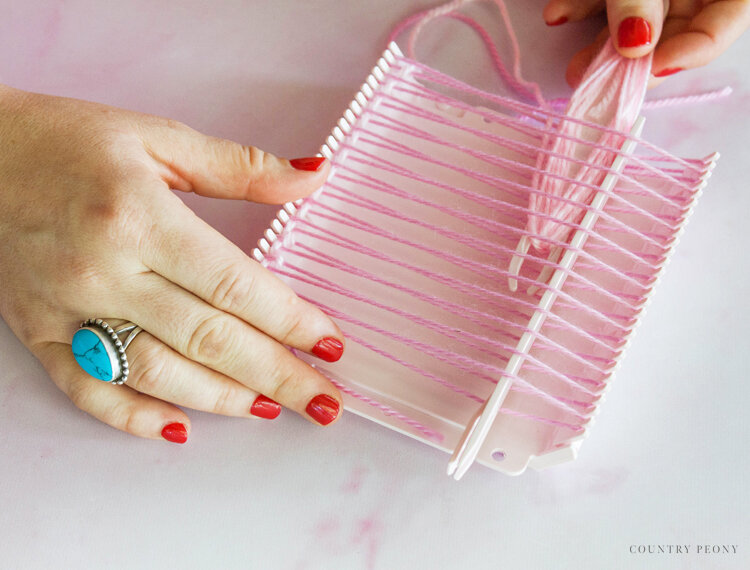
Wind the yarn back and forth until you create a taut base for the loom, known as the warp yarn.
*Don’t wind the yarn too tightly, because the shuttle needs to go through the yarn.
Make another knot to end the winding, and secure the warp yarn in place.
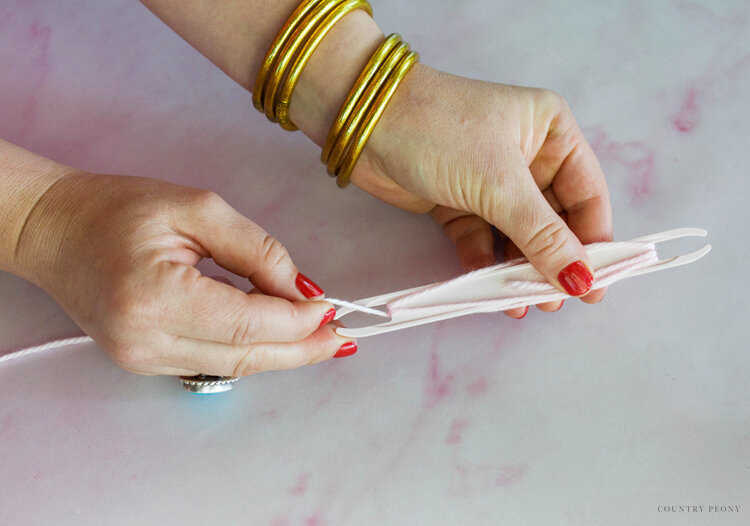
Wind the Weft onto the Shuttle
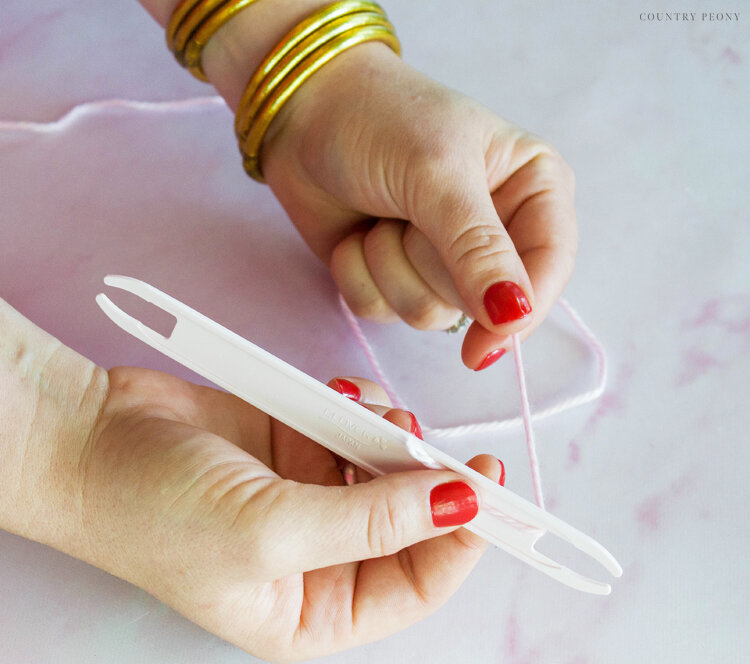
The yarn that is being passed through the warp yarn is known as the weft.
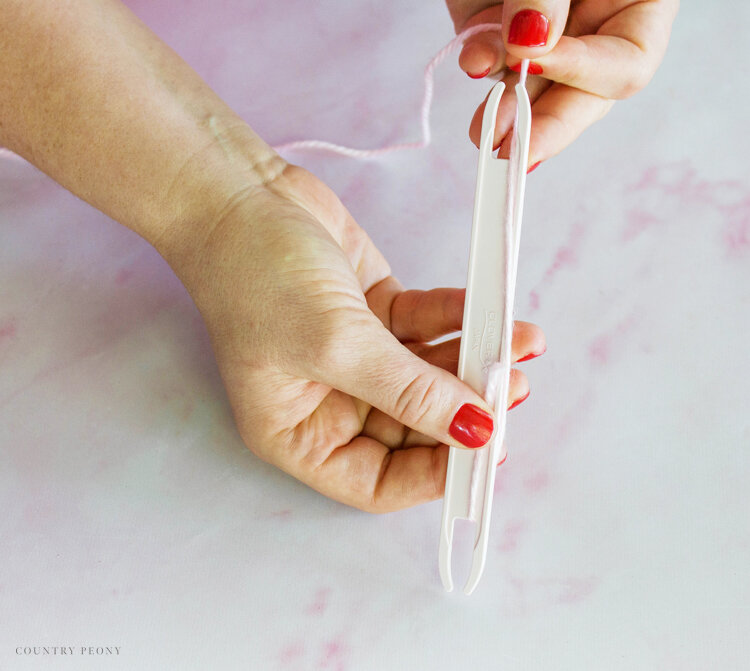
Hold the end of the yarn in the middle, then wind the yarn in a figure eight-motion on the left side, then twist to the right side. Continue this until you have a significant amount of yarn to complete your project.
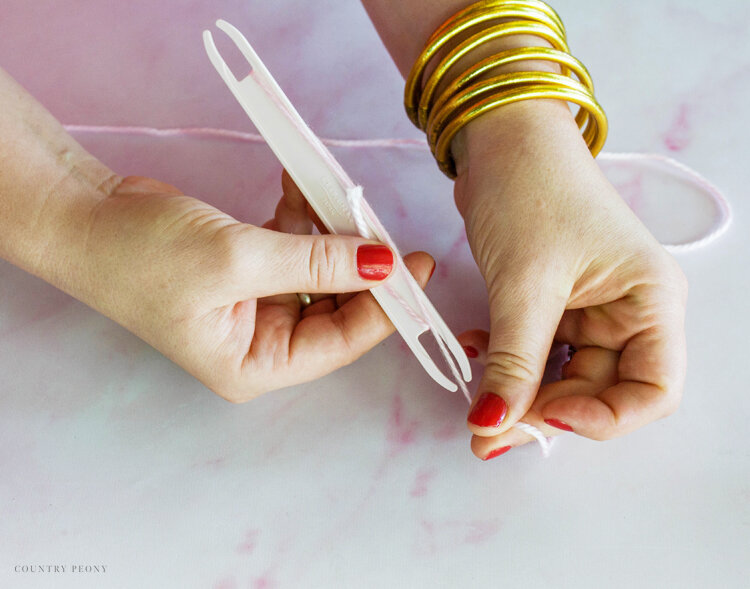
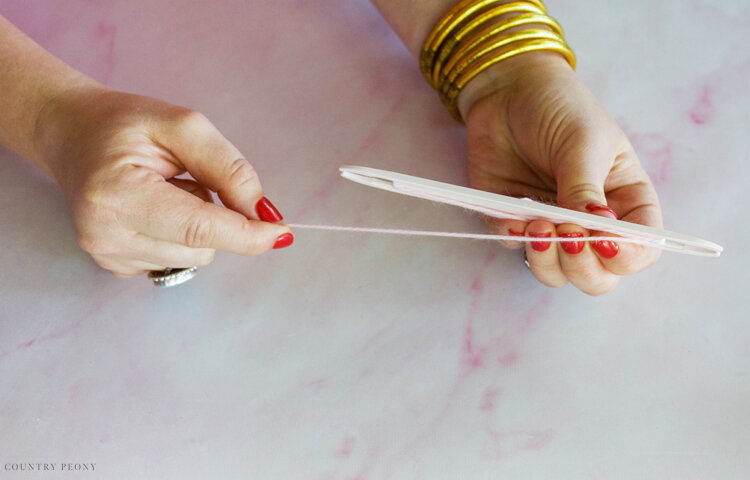
*Do not let the weft on the shuttle get thicker than 3/4 inch thick, so that the shuttle can pass through the warp yarn.
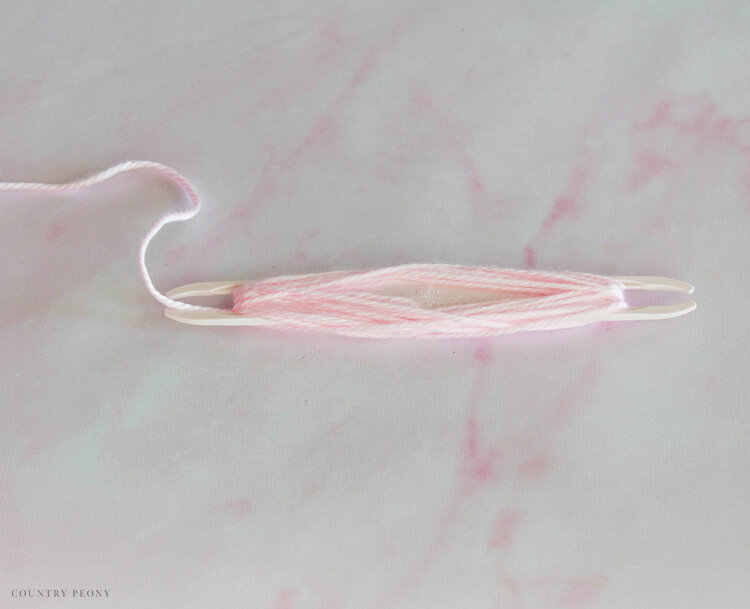
I didn’t make my shuttle very thick, because I knew I would change the yarn/wool roving multiple times throughout this project.
Weave the Miniature Wall Hanging with Clover’s Mini Weaving Loom
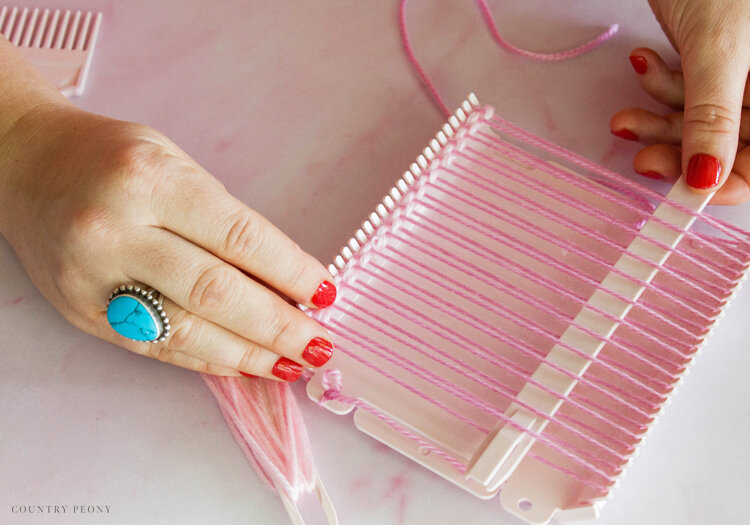
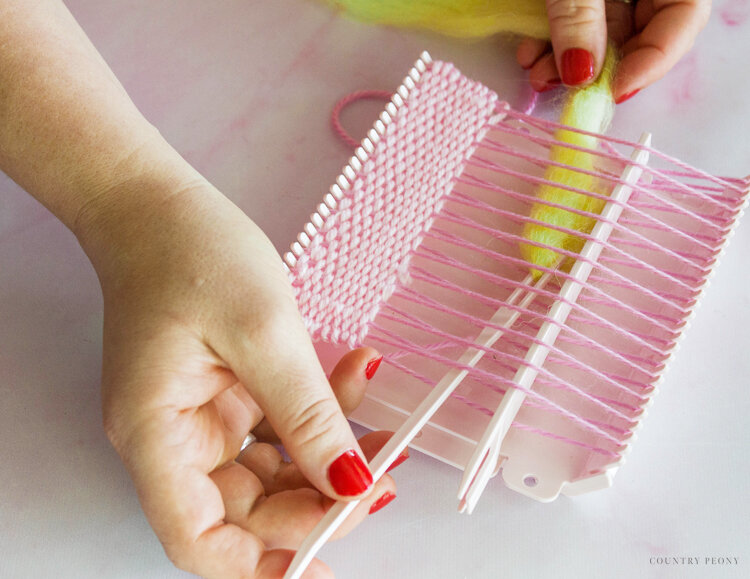
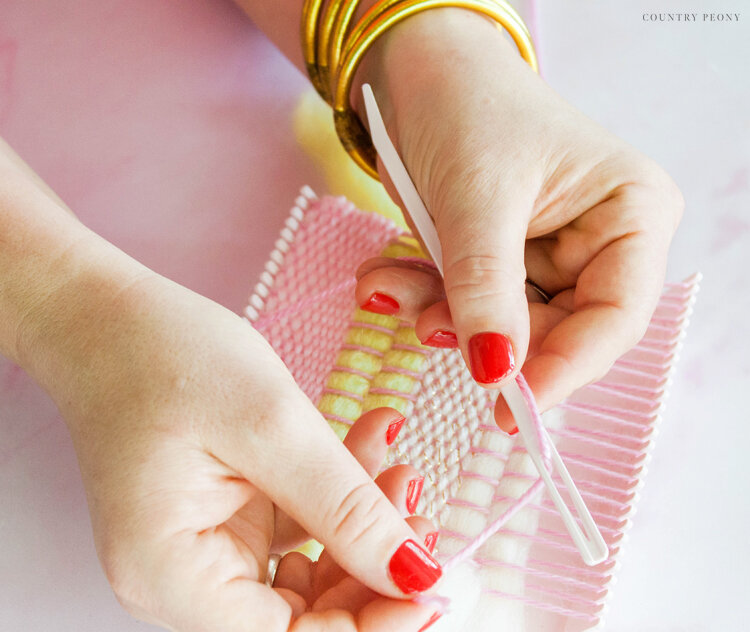
Pass the shed stick through the even numbered strands of the warp yarn.

Create a small yarn tail on the shuttle, then weave through the odd numbered strands of warp yarn with the shuttle.
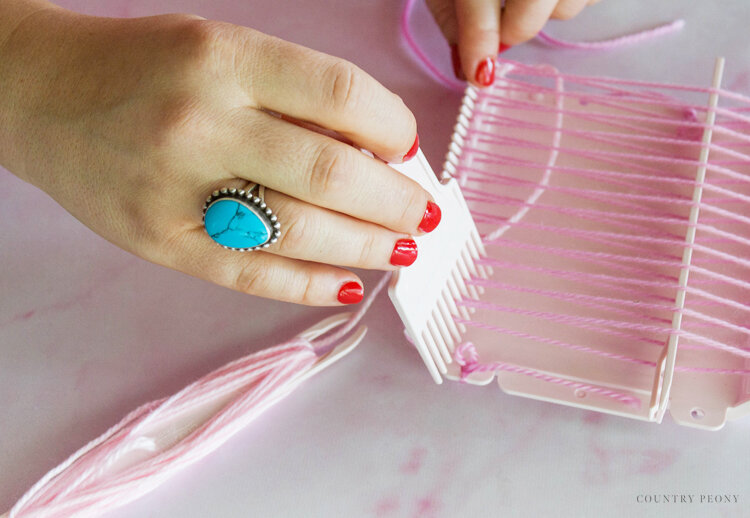
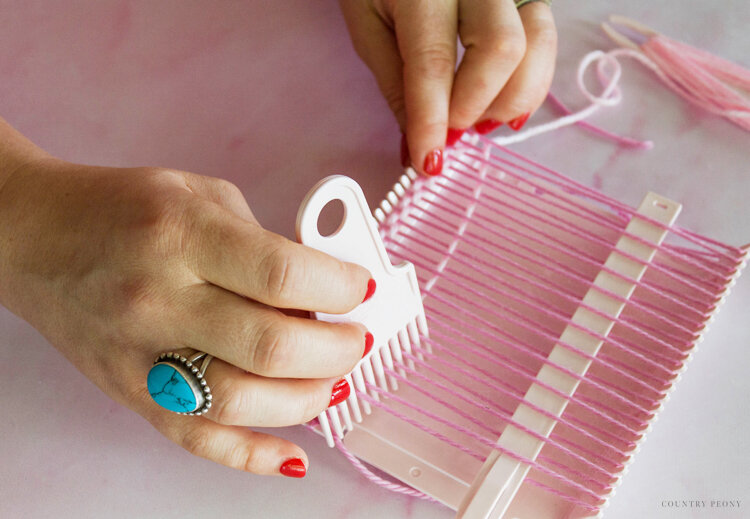
Don’t pull the yarn too tightly. Create an arch with the weft yarn, then use the weaving comb to push the weft yarn down.
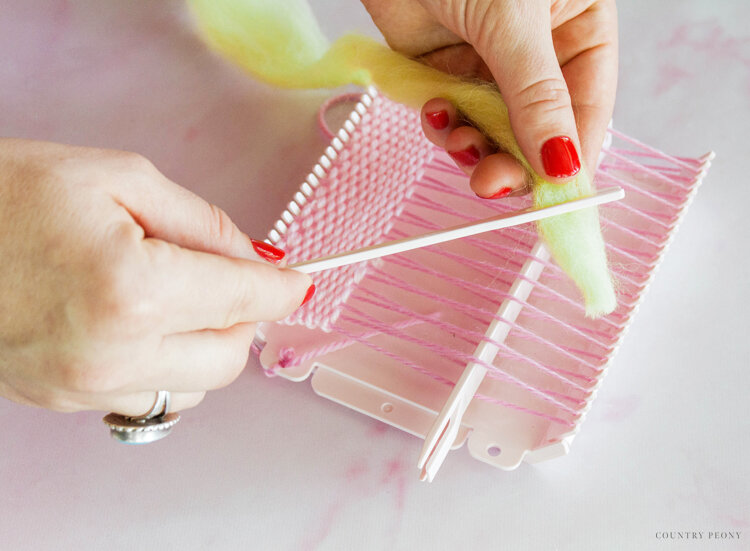
Now for the really fun part, turn the shed stick on its side so that the warp yarn is separated.
Pass the shuttle through the separated warp yarn.
Then repeat the process.
Continue to weave until you change the yarn or fiber.
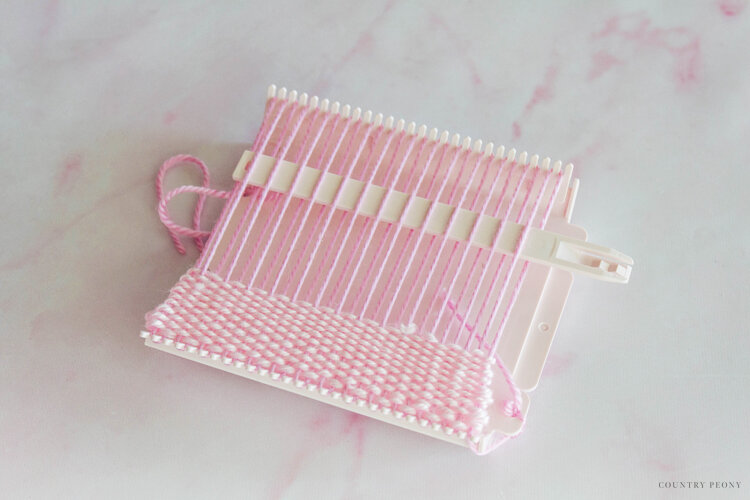
To finish off a section, wind the end of the weft yarn in between the warp yarn, then use the weaving comb to press it against the section.
You can choose to weave one style of yarn throughout or you can add more texture like I did.
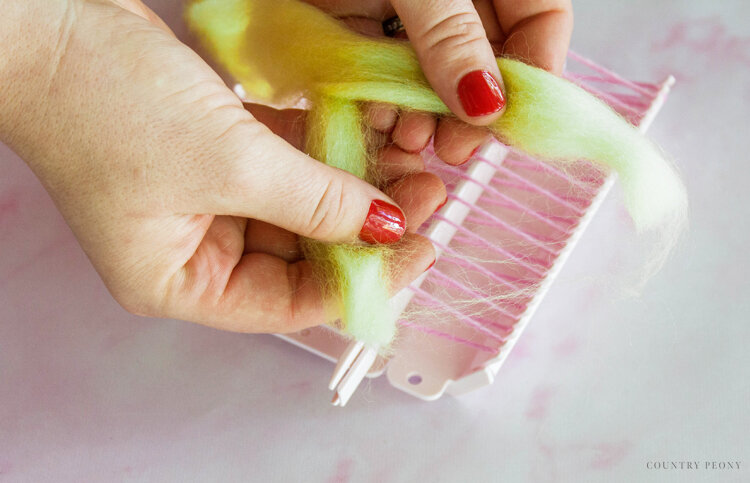
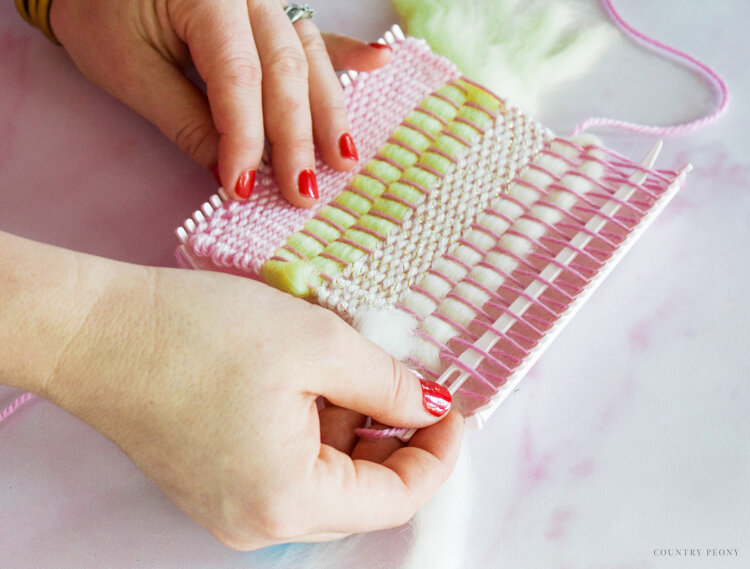
I added Clover’s Roving Wool into the mix to create fun texture and whimsy.
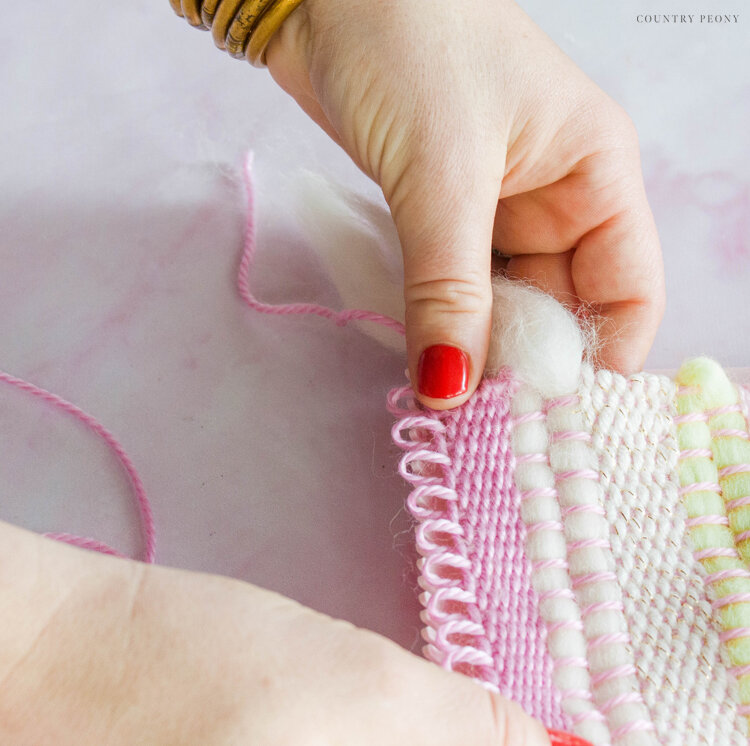
Separate the Roving Wool, then thread the wool through the weaving needle attachment.
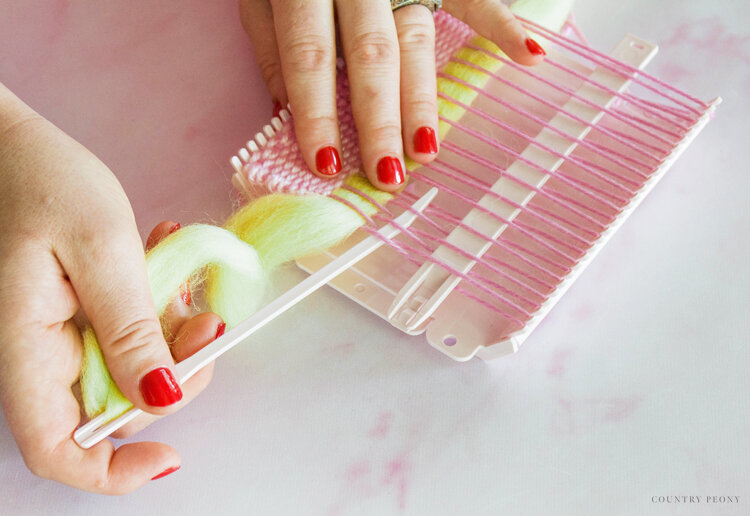
Use the weaving needle to pass through the warp yarn, then do the same on the other side.
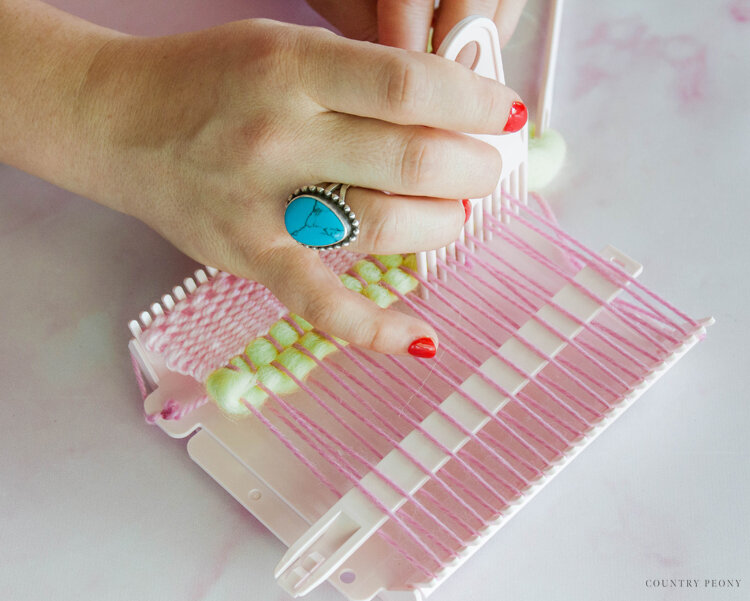
Use the weaving comb to press the Roving Wool into the pattern.
Keep the tail of the Roving Wool in tact to create a fun textural element for the wall hanging.
Then, start a new section.
Wind the weft yarn onto the shuttle once more.
Repeat the process of passing the shuttle through the warp yarn to weave a pattern.
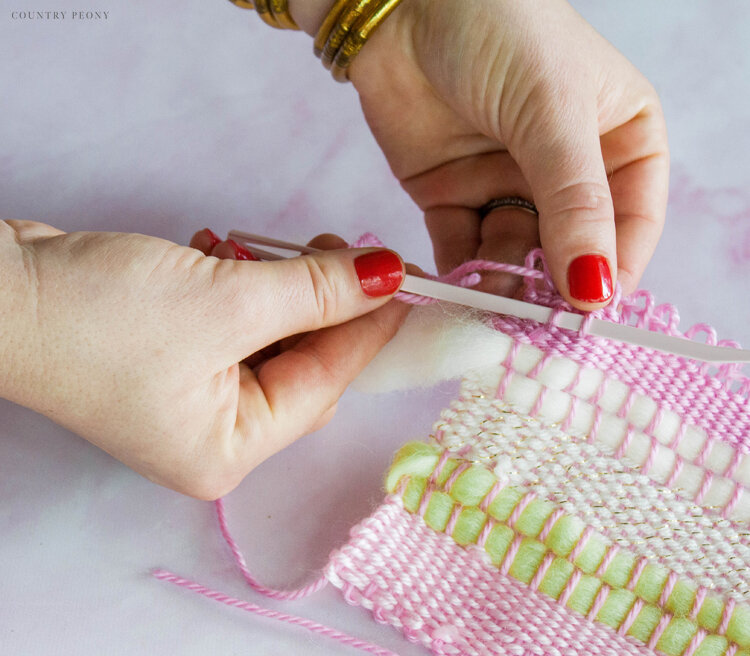
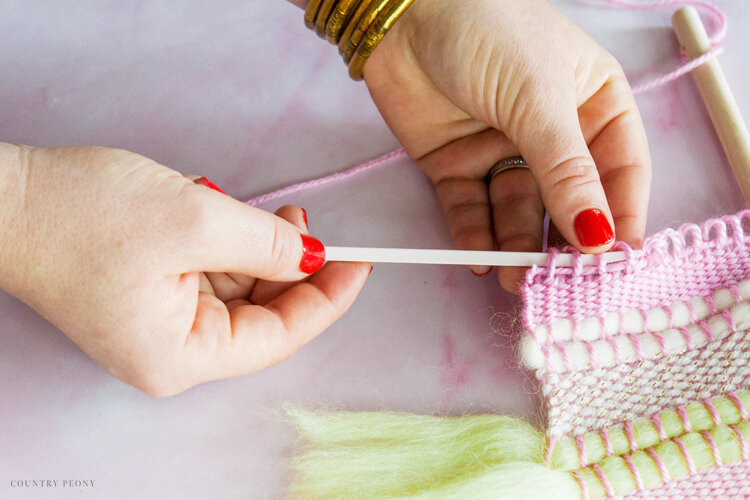
When it becomes too difficult to pass the shuttle through the warp, remove the shed stick and the weft from the shuttle. Then thread the needle with weft yarn and continue to weave with the needle.
Once complete, simply remove the woven wall hanging from the loom from the spacing bars.
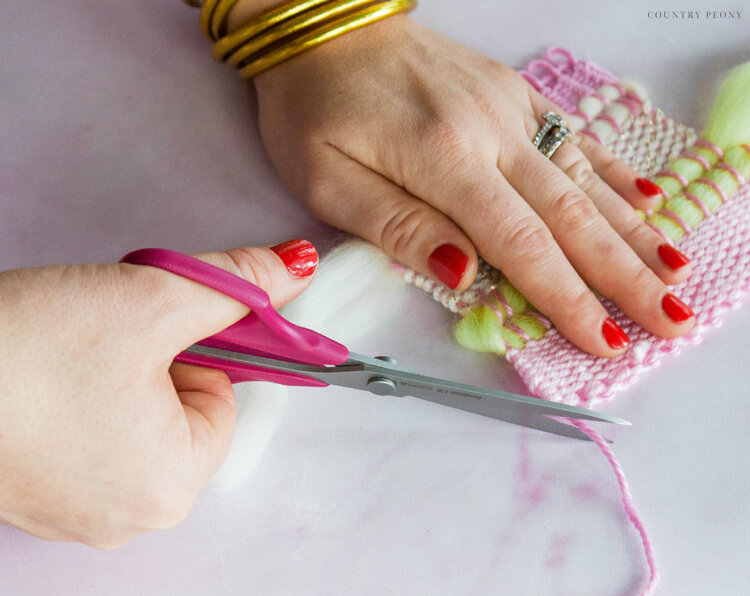
Turn the wall hanging over, and thread the weft yarn through the back to finish off the piece.
Then trim the excess yarn.

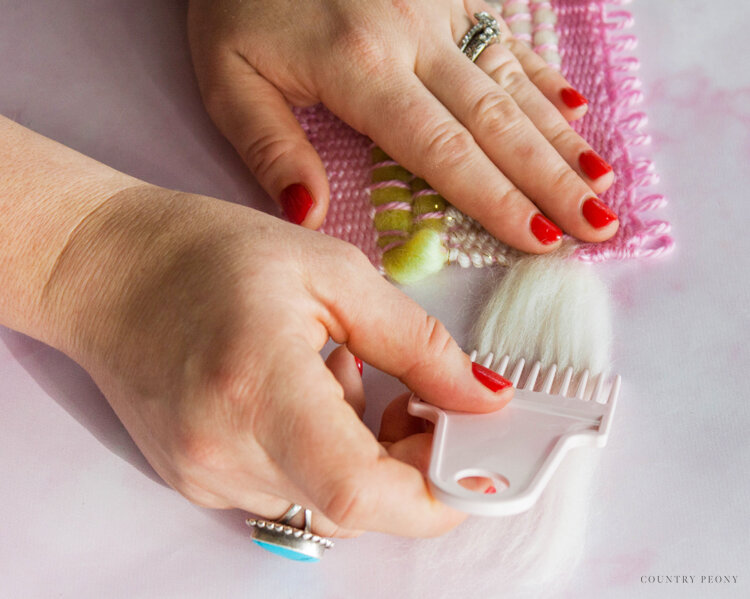
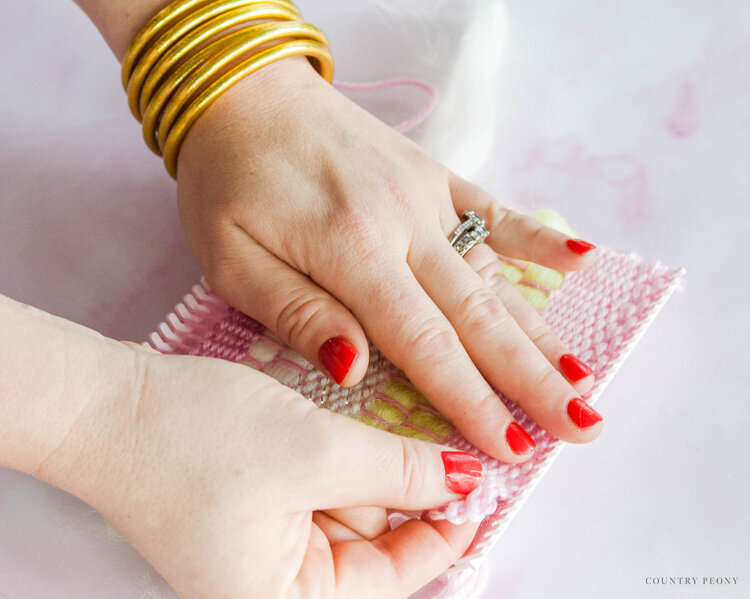
Use the weaving comb to arrange the wall hanging, and to comb through the Roving Wool.
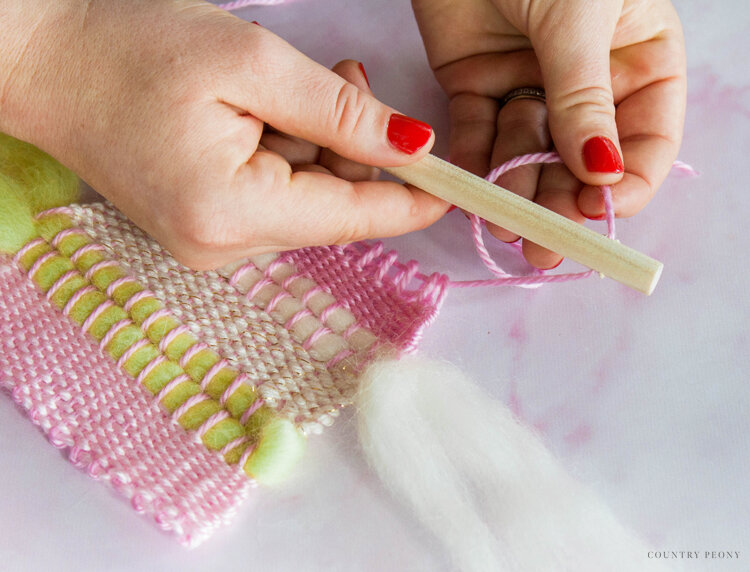
Thread yarn through the top loops, and then through a hanger.
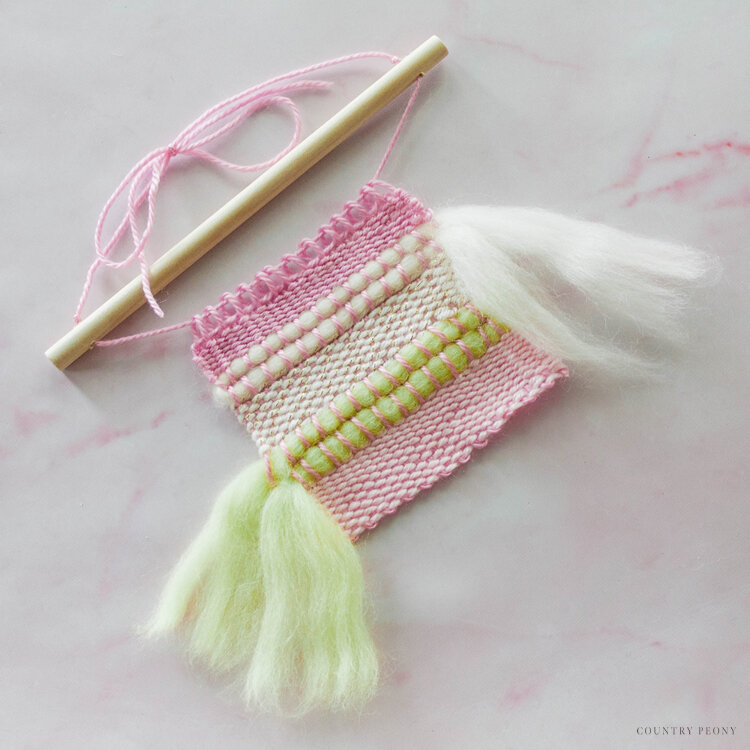
Hang, and enjoy your beautiful wall art!

I love how this wall hanging turned out. The beautiful texture and the whimsical flair makes it such a fun piece for any wall.

I really enjoyed the weaving process, and thanks to Clover for making it so simple!
Thank you so much to Clover for this fun opportunity to try the Mini Weaving Loom to create this fun project!

Thank you so much for following along. I believe crafting is more fun when we share our projects. Please email me at elizabeth@countrypeony.com, or please tag me @thecountrypeony or #countrypeony to show me your beautiful, custom creations!
Happy Crafting!