DIY Pantry Organization

Organization seems to be the theme for January every year. My Instagram and Pinterest feeds have been stacked full of beautiful tips and organization tricks. Netflix even has a new series about organization: Tidying Up with Marie Kondo (which I have been wanting to watch, but I haven’t been able to sit down for more than one minute to watch it. #momlife) That said, all of this talk about organization has inspired me to finally tackle the large elephant in my room: my disorganized pantry.
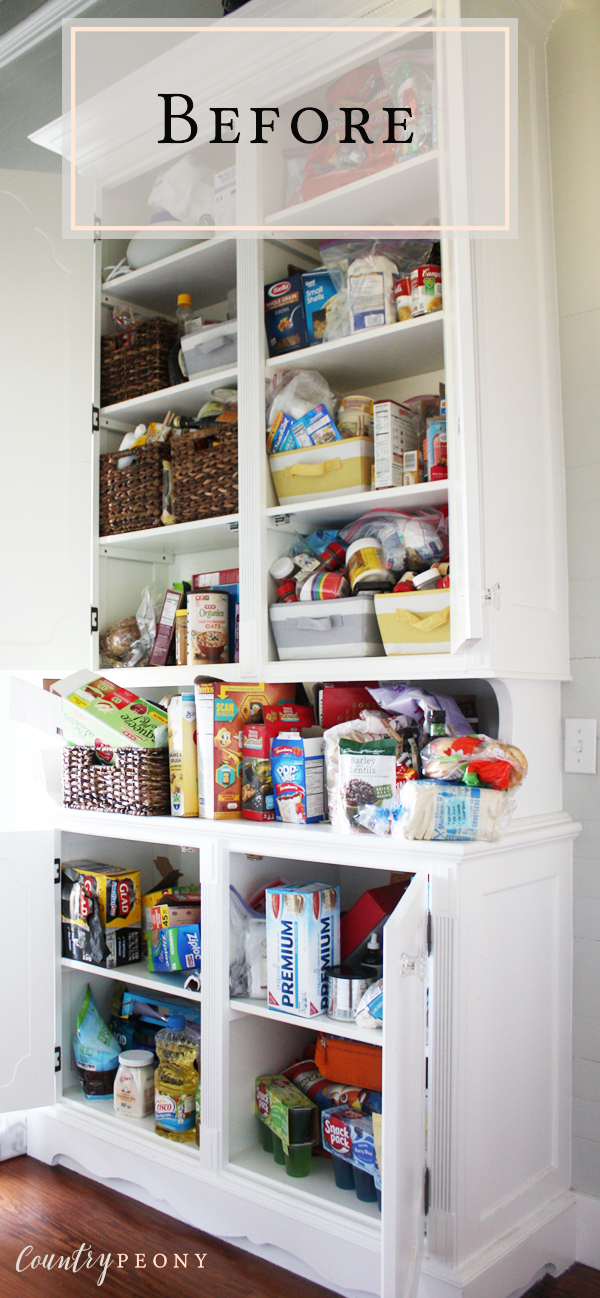
I have shared an embarrassing before picture of my pantry so I can show you that with a little bit of imagination and fun organizers, you too can tackle your pantry. Please see my tips below.
Before you start organizing your pantry, I would recommend a couple of things:
Draw a picture of your current pantry. Include the depth, width, and height of each shelf/space so that you can reference the picture when/if you are ordering organizers online or in person at a store.
Take stock of all the organizers that you currently have in your house that you can reuse in the pantry to save a little money (i.e. mason jars, wicker baskets, file organizers, etc.).
Now, see the steps below that helped me organize my pantry.
*This post contains affiliate links. For more information, please see my disclosure page here.
In case you are wondering, I purchased these items below for my pantry:

Step 1: Remove all of the items from your pantry one shelf at a time. As you remove the items, decide 1) if it is expired? 2) want to keep it? 3) relocate it to a different portion of the house?
If you confirm you want to keep the item, then place it into a separate section on the floor/counter that it best fits (i.e. baking, snacks, drinks, spices, etc.).

Step 2: Once you have removed all of the items from your pantry and confirmed what you will keep, then clean every shelf with your favorite household cleaner.

Step 3: Take stock of all of the items on the floor/counter and come up with a plan that works best for you. For example, place the items that you use the most at eye level, or if you want your children to have access to snacks then place them at the lower level.


Step 4: Take one shelf at a time, and start to add the items back into their organizers (if necessary). I would recommend using clear or see-through organizers toward the top so you know what is in them.
Take your time with this process. Once you place everything in the shelf you may decide that you don’t like the look or it isn’t easily accessible. It is okay to start over.

This whole process took me about 4 hours, and I am very happy with the result. I am giddy when I walk past/to my pantry because I love how accessible it is. I also love that I can easily browse through the pantry when I am making my grocery list for the week.

I hope this inspires you to organize an area of your home. If you have any tips that I missed, please let me know!
