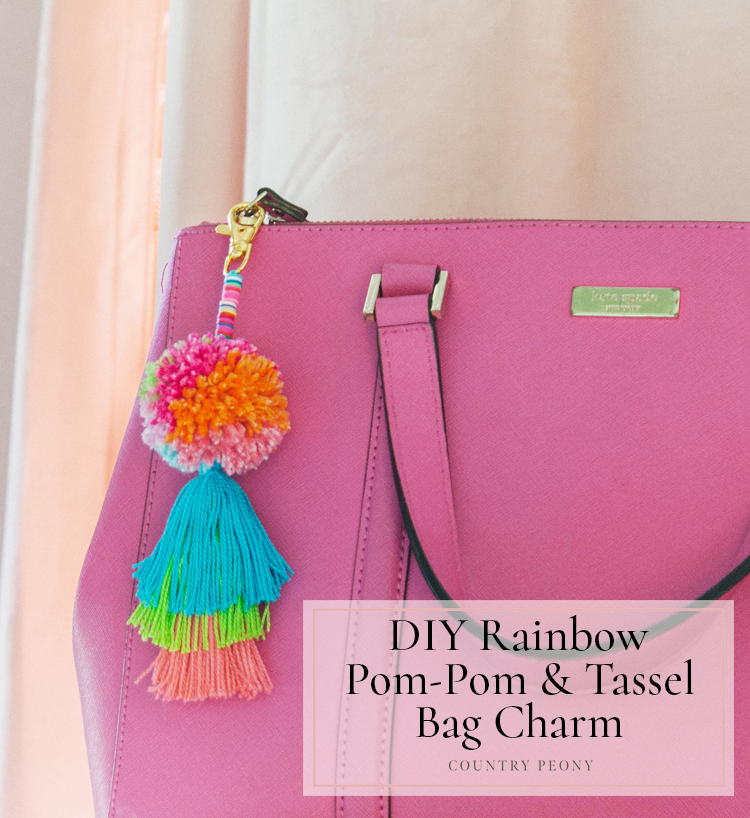
DIY Pom-Pom & Tassel Bag Charm with Clover
*This post was created through a paid partnership with Clover. However, all opinions are honest and 100% my own.
*This post contains affiliate links. For more information, please see my disclosure page here.
Bag charms are such a fun way to add a statement to a backpack, tote, or purse. Today I am so excited to work with Clover to bring you a whimsical bag charm using their fantastic pom-pom maker and tassel maker.
If you have been here for a while you may know that I love using Clover’s pom-pom makers and tassel makers for my projects as you can see from the DIY Colorful Pom-Pom Christmas Tree, the DIY Pom-Pom Heart Wreath for Valentine’s Day, the DIY Pom-Pom & Tassel Bunny Garland for Easter, and more recently the DIY Pom-Pom Summer Floral Arrangement for Summer. Clover’s pom-pom makers and tassel makers are so easy to use to create consistent and cute pom-poms and tassels every time in less time. The different sizes allow you to experiment with different projects as well. The possibilities are endless!
For your convenience, I created a step-by-step video so you can see how I made the pom-poms and tassels using Clover’s pom-pom maker and tassel maker, and then how I put everything together to create the whimsical bag charm. Then continue below to follow the step-by-step images to make your own DIY Pom-Pom & Tassel Bag Charm just in time for back-to-school.
Enjoy the video below then follow along for the step-by-step tutorial to make your own pom-pom and tassel bag charm just in time for back-to-school!
Continue below for the step-by-step pictorial to make your own pom-pom and tassel bag charm.
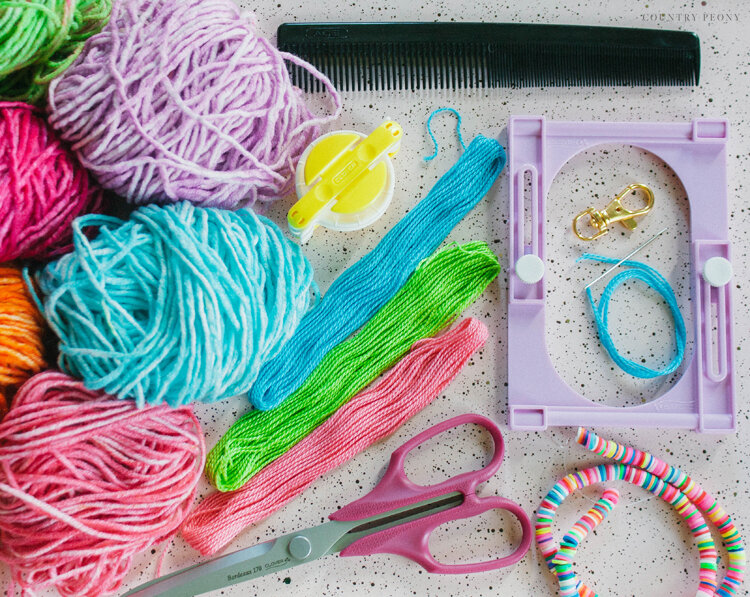
To make your own pom-pom and tassel bag charm, you will need:
Step 1: Make the colorful pom-pom using Clover’s Pom-Pom Maker.
Make the pom-poms. For this project I used the 1 & 3/4” pom-pom maker (it can be found in this set on Amazon).
Follow the video above, and the step-by-step tutorial in the DIY Colorful Pom-Pom Christmas Tree to make your own pom-poms using the Clover pom-pom makers.

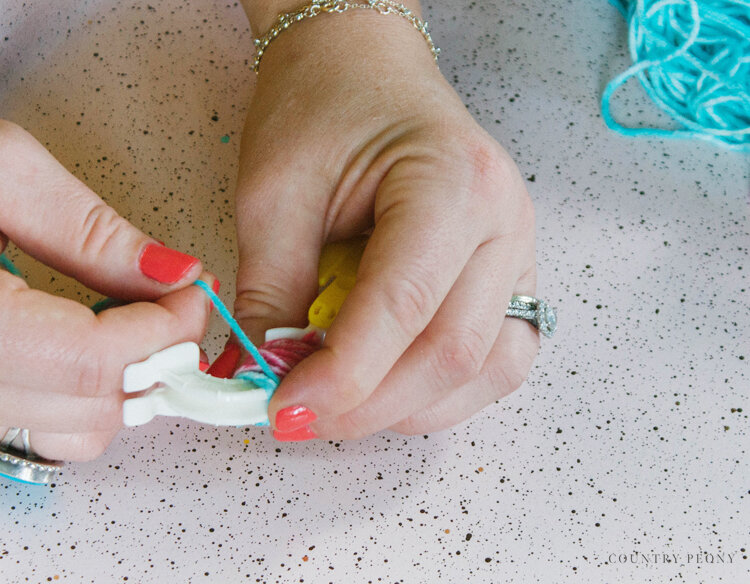
Open up the pom-pom maker. Tightly wrap three different colors of yarn around one side of the pom-pom maker arm until you have a full, consistent amount of yarn on your pom-pom arm.
Then, close the pom-pom maker arm and add three different colors of yarn to the other arm. Continue to wrap until you have a full, consistent amount of yarn on your other pom-pom arm.
*Keep in mind the more yarn you add to the pom-pom maker, the fluffier and more full the pom-pom will be.
*Use a total of six different yarn colors to achieve the rainbow effect.
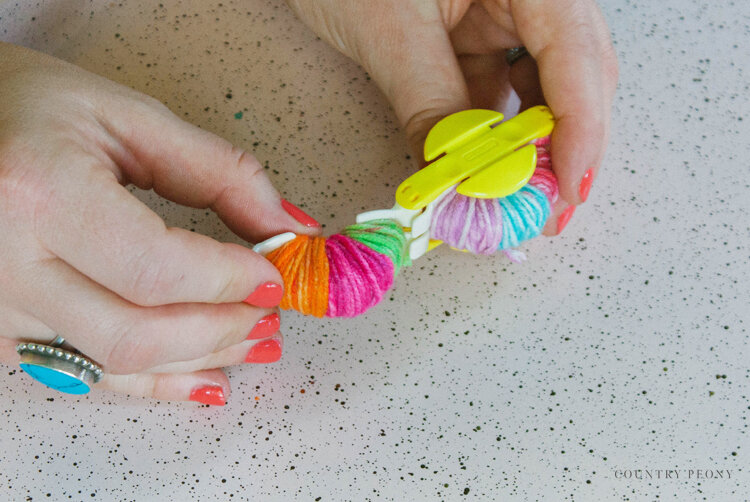
Close the pom-pom maker arms.
Cut a separate piece of yarn and set it aside.
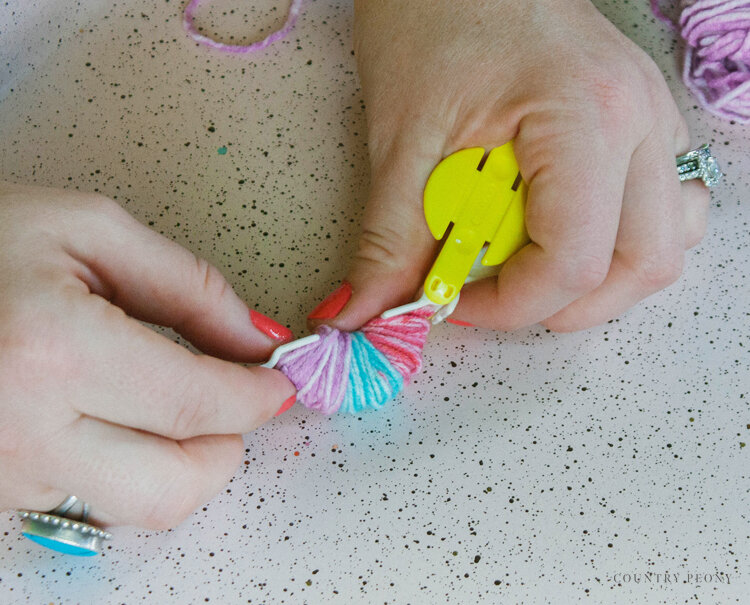
Ensure that both pom-pom arms are closed and snug, then follow the pom-pom maker guideline in between and start to the cut the yarn.
Once you cut the yarn all the way around the pom-pom maker, double knot the extra piece of yarn around the pom-pom.
Now for my favorite part: open the pom-pom maker arms, then slowly pull the pom-pom maker apart, revealing the cutest pom-pom ever!
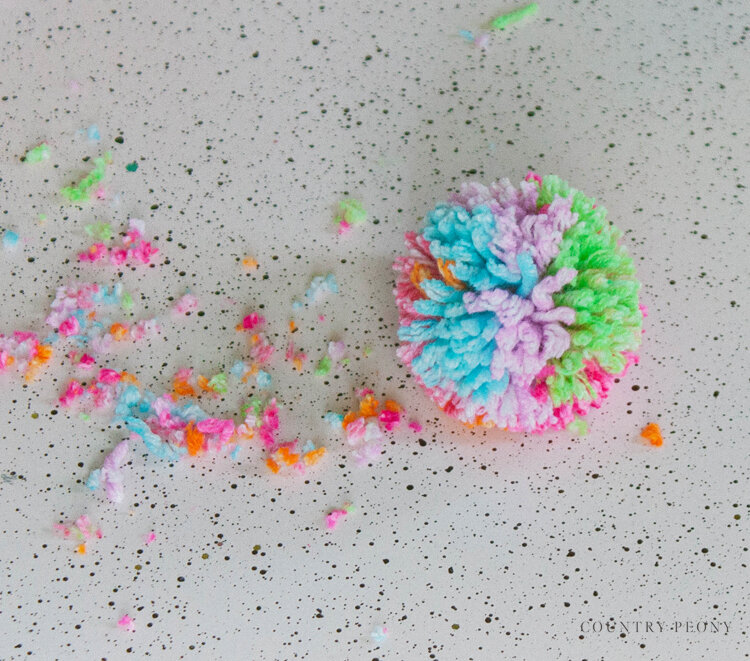
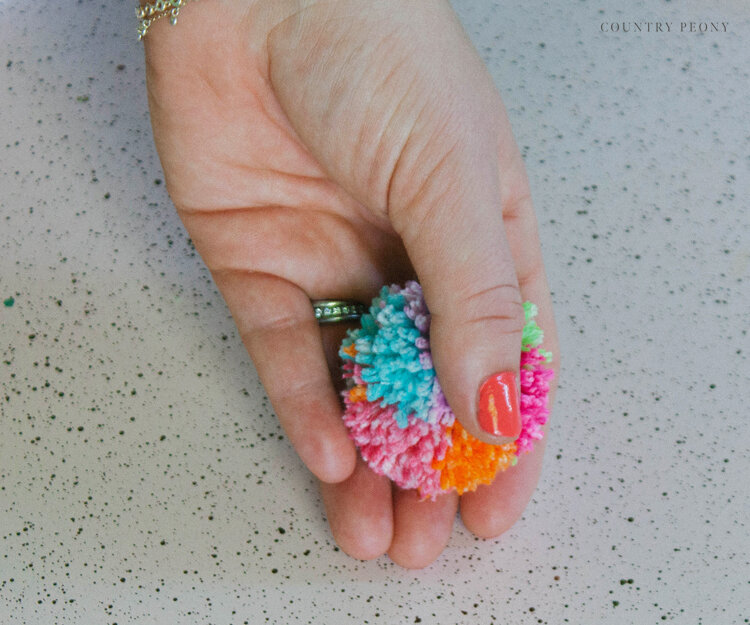
Now it is time to fine tune and give your pom-pom a little trim. Cut off any excess yarn around the pom-pom to give it a full and consistent look.
Step 2: Make three tassels using Clover’s Tassel Maker.
Make three colorful tassels. For this project I used the smaller tassel maker (it can be found in this set on Amazon).
Follow the video above, and the step-by-step tutorial in the DIY Pom-Pom & Tassel Bunny Garland to make your own tassels using the Clover tassel makers.
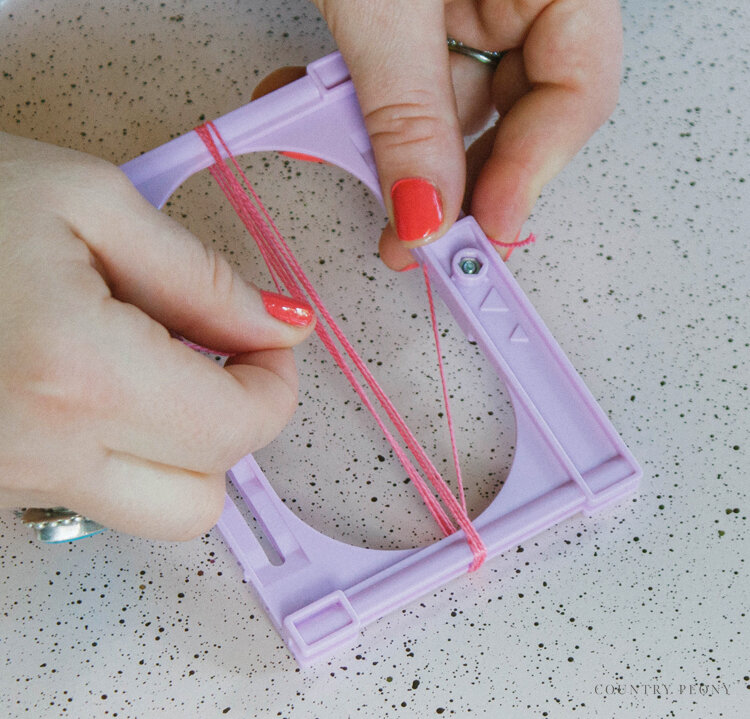
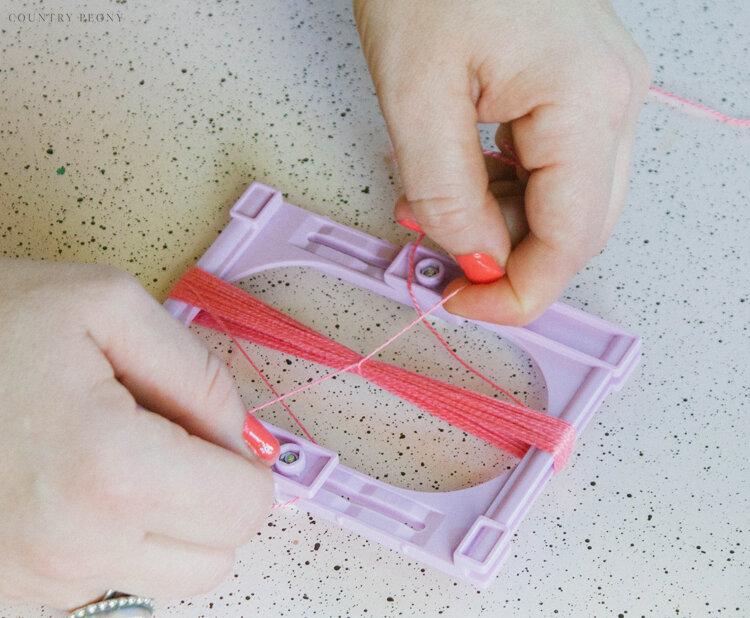
Adjust the size of the tassel maker.
Secure the embroidery floss and wrap it around the tassel maker about 25 times (or the entire skein of embroidery floss).
Cut the embroidery floss, and secure it.
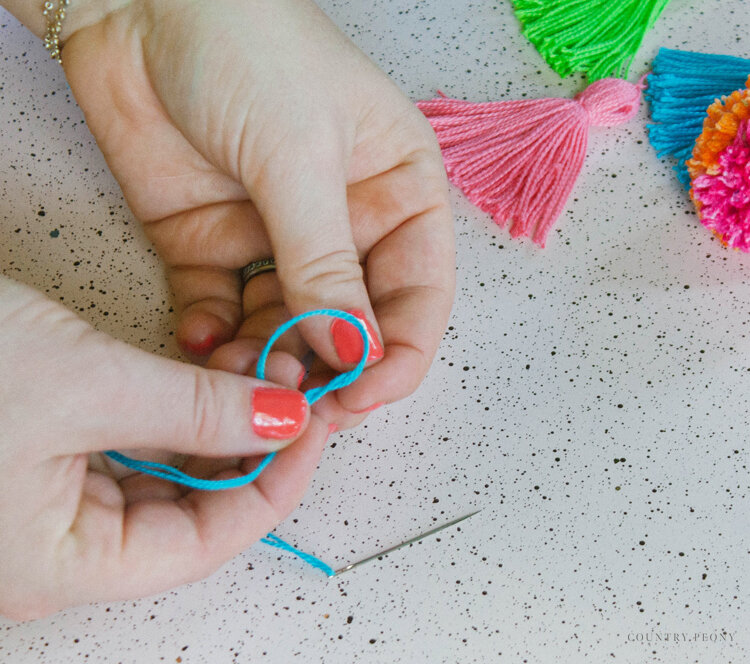
Tie a separate piece of embroidery floss around the middle of the embroidery floss loop. Double knot.

Hold the embroidery floss, then follow the guidelines and cut the embroidery floss on each end.
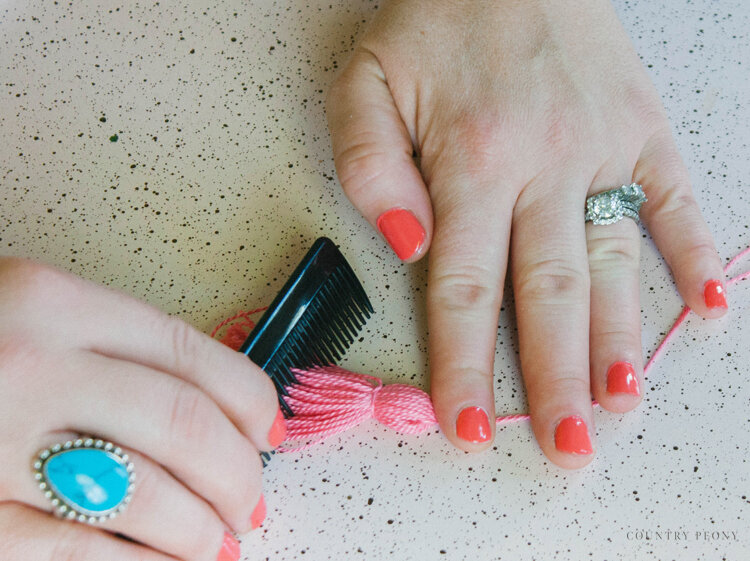
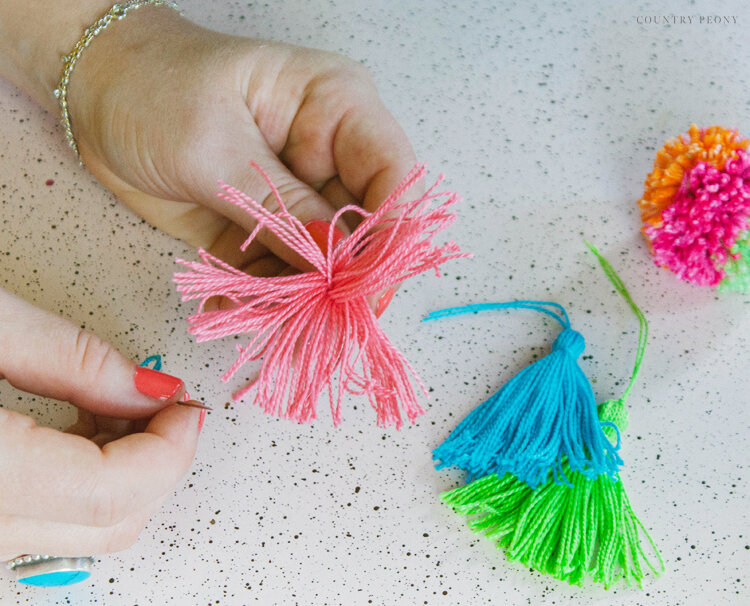
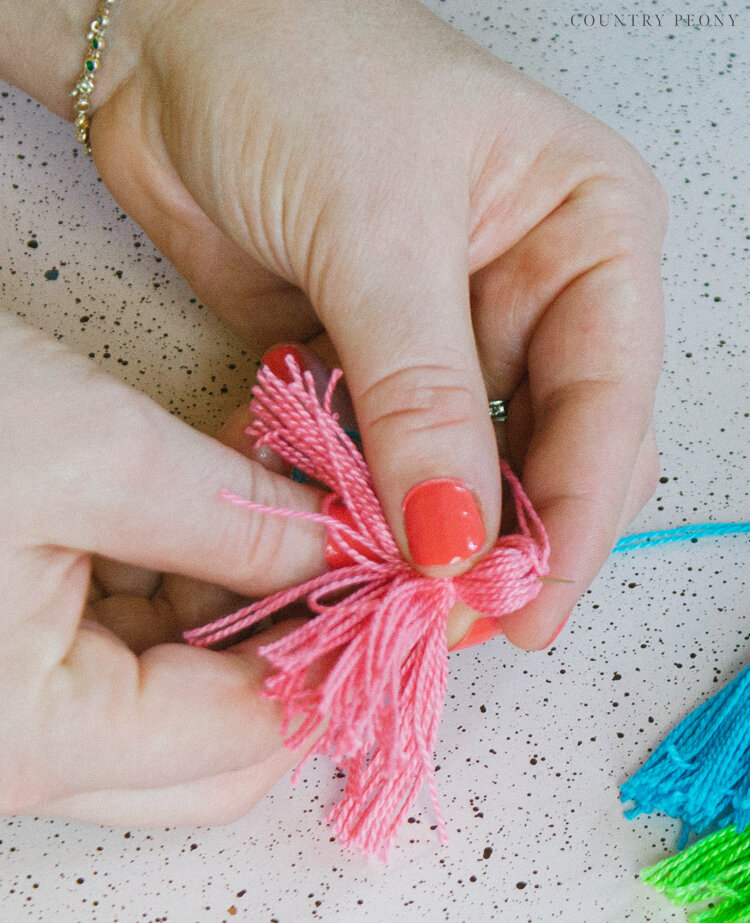
Tie a piece of embroidery floss around the top to create a neck for the tassel. Double knot.
Use the fine tooth comb to comb through the embroidery floss and make it even.
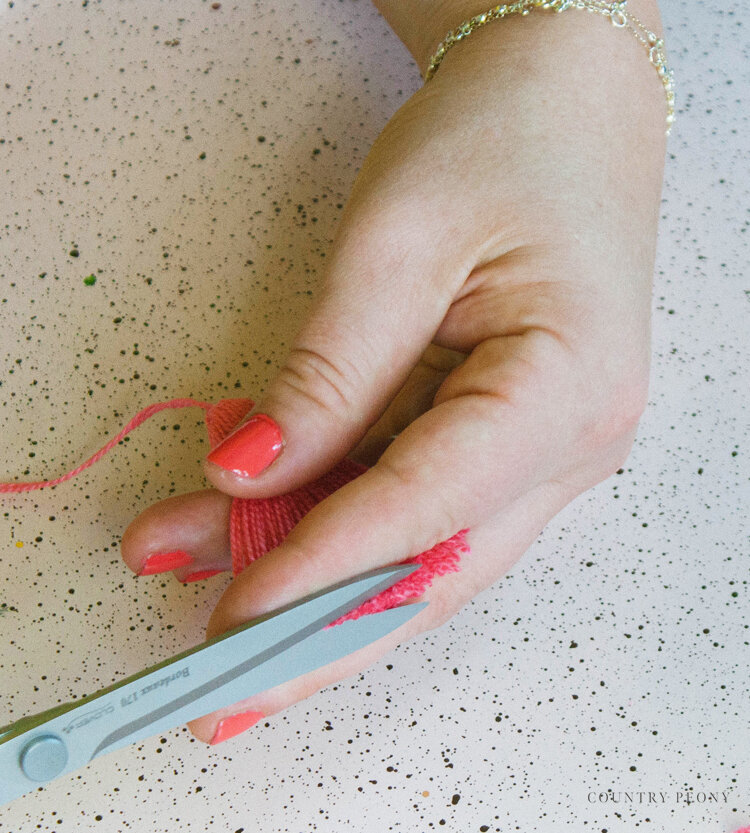
Trim the tassel bottom.
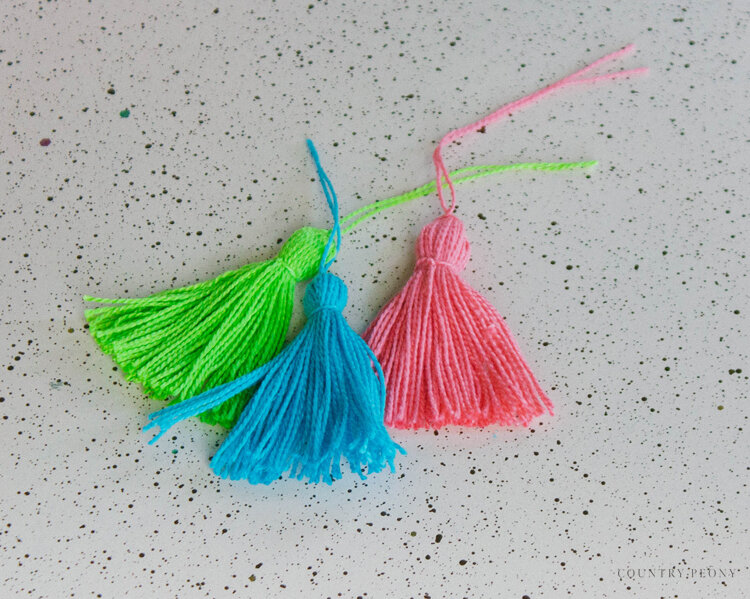
Make three colorful tassels in corresponding colors to the pom-pom.
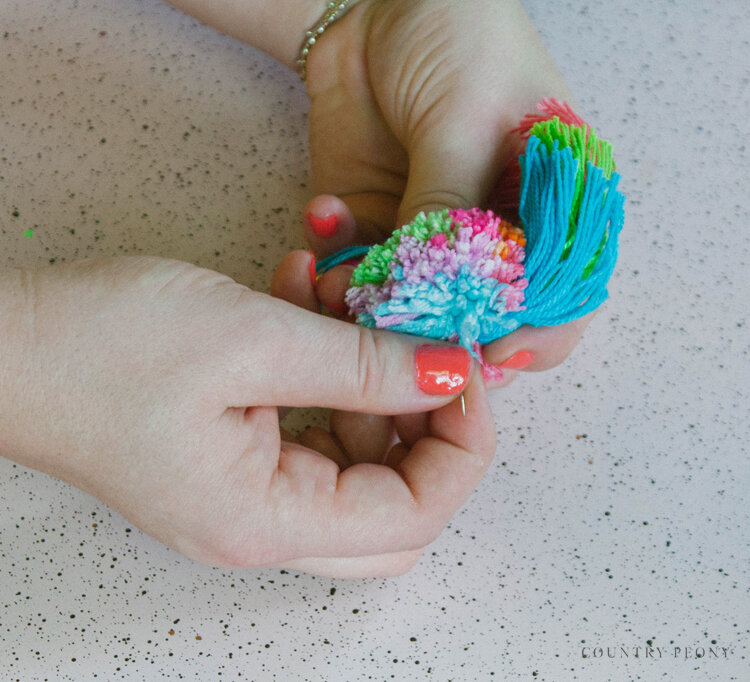
Step 3: Thread embroidery floss through a needle and tie a knot on the end.
Step 4: Turn the tassel over, and thread the needle through the tassel.
Step 5: Cut the top tassel strings.
Step 6: Repeat steps 4 & 5 and thread through the other two tassels.
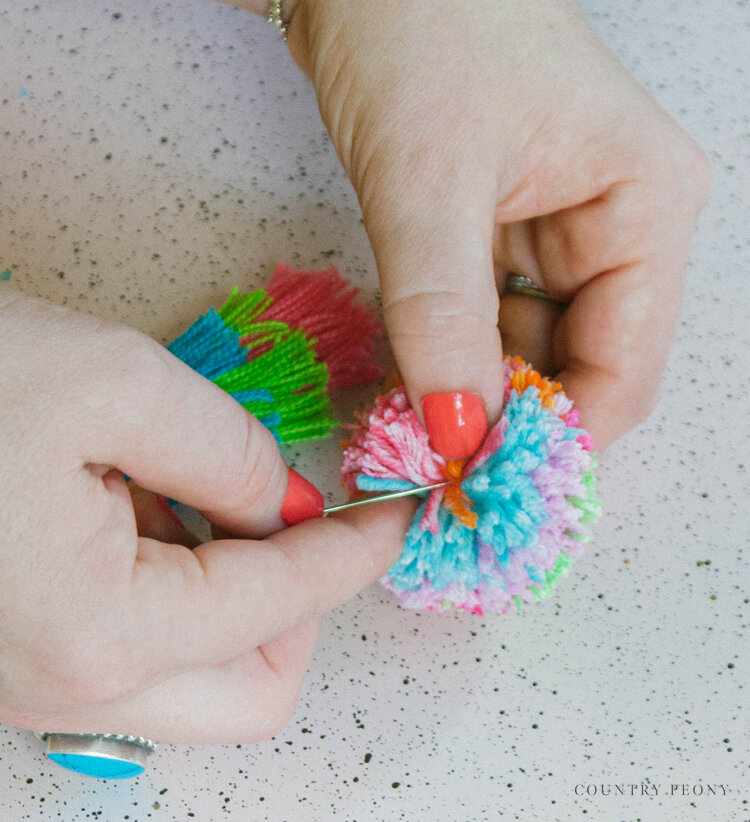
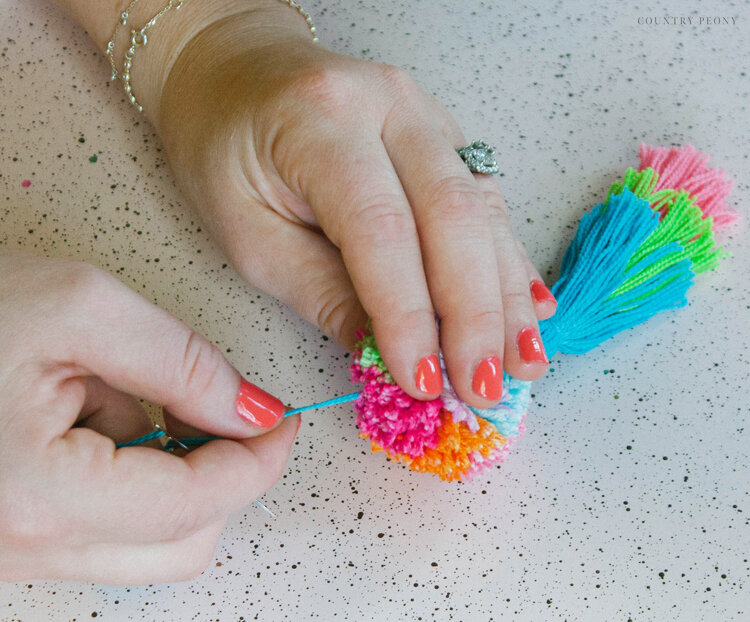
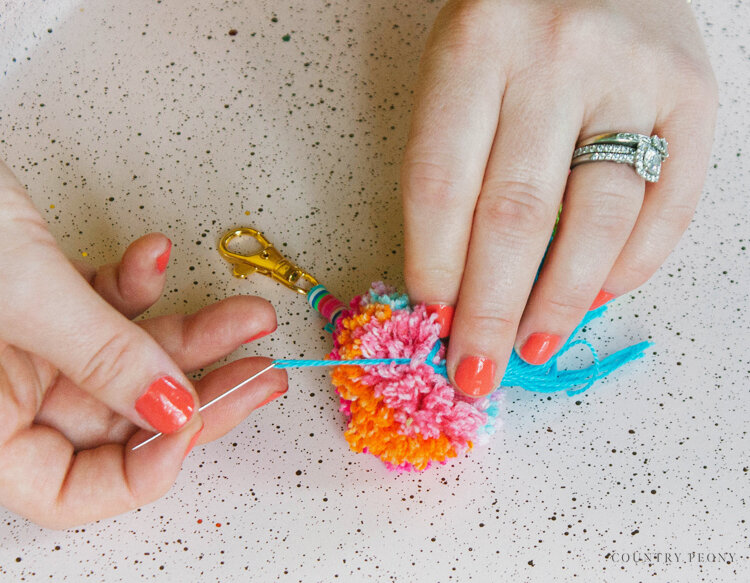
Step 7: Find the center bottom and center top of the pom-pom then thread through the pom-pom.
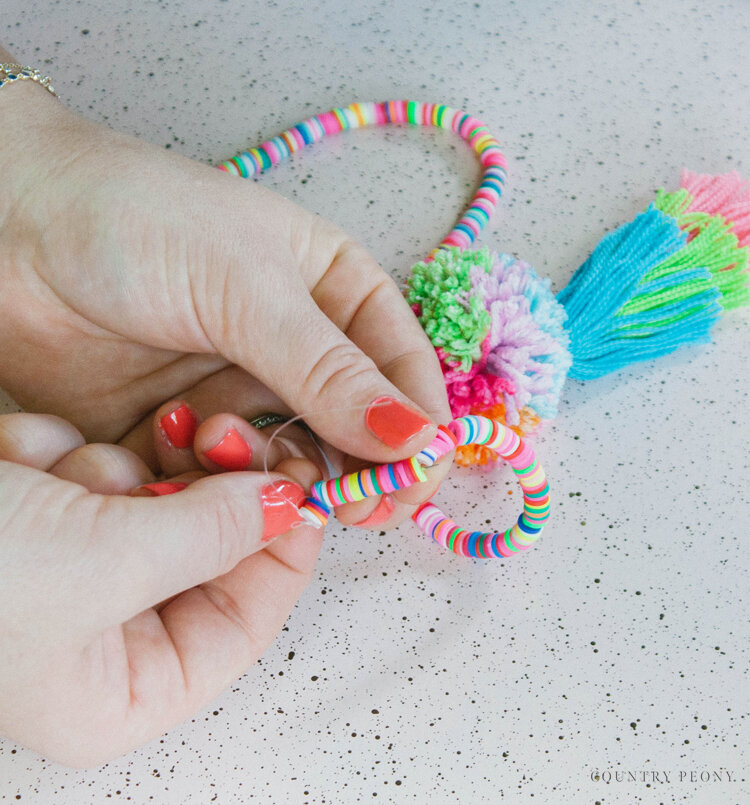
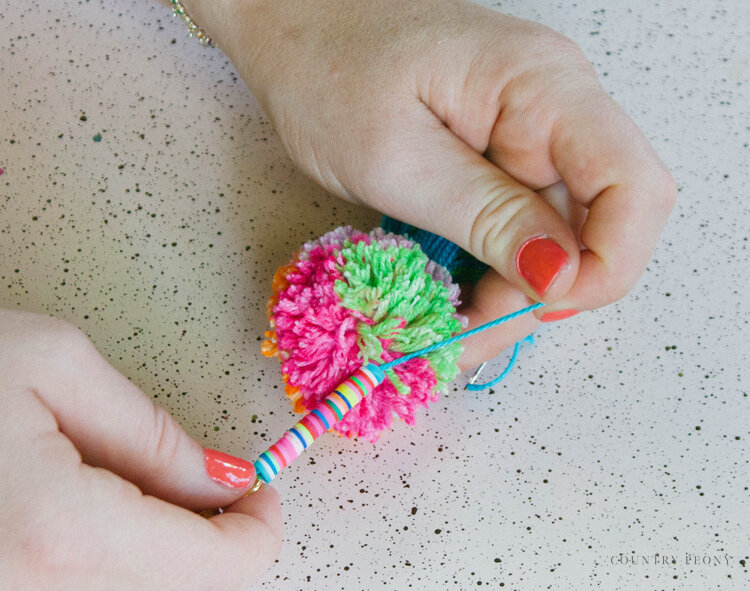
Step 8: Thread through the colorful beads.
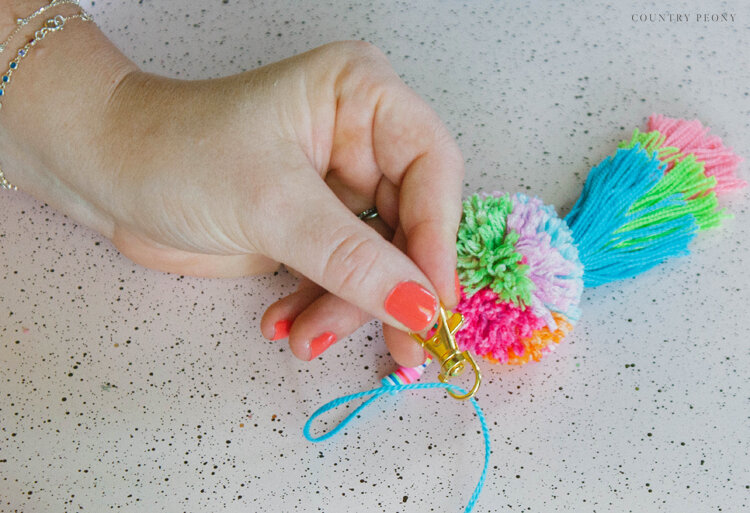
Step 9: Thread through the lobster clasp.
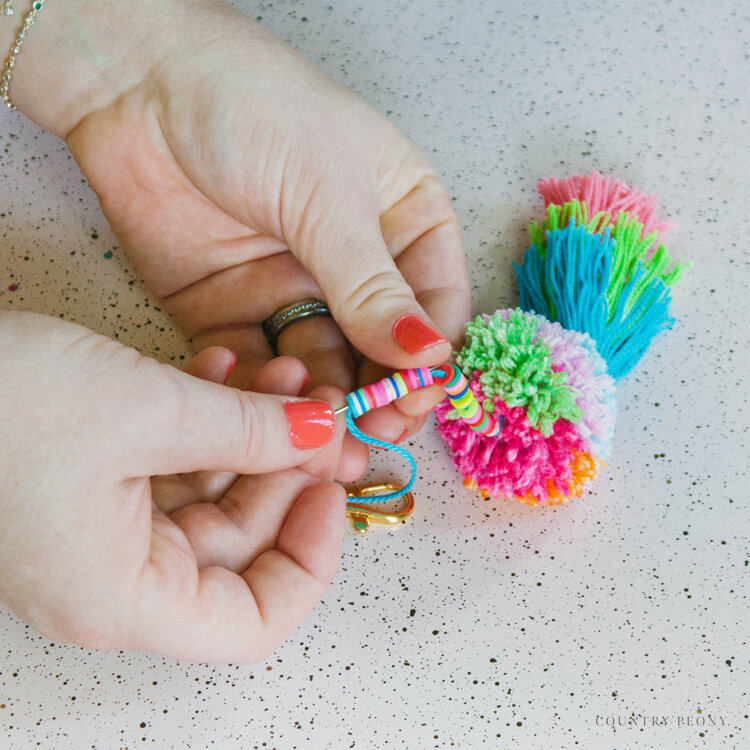
Step 10: Rethread through the colorful beads and the center of the pom-pom.
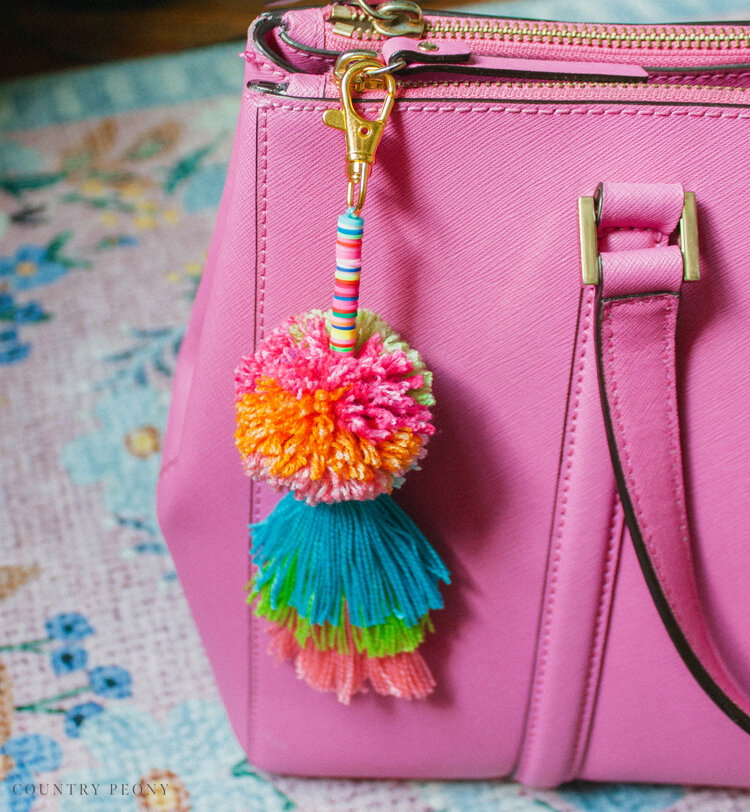
Step 11: Knot and trim the embroidery floss.

Step 12: Enjoy your custom, colorful bag charm!
I hope you enjoy making your own whimsical bag charm.
I believe crafting is more fun when we share our projects. Please email me at elizabeth@countrypeony.com, or please tag me @thecountrypeony or #countrypeony to show me your beautiful, custom creations!
Thank you so much for following along!
