Wooden Carrot DIY
*This post contains affiliate links. For more information, please see my disclosure page here.

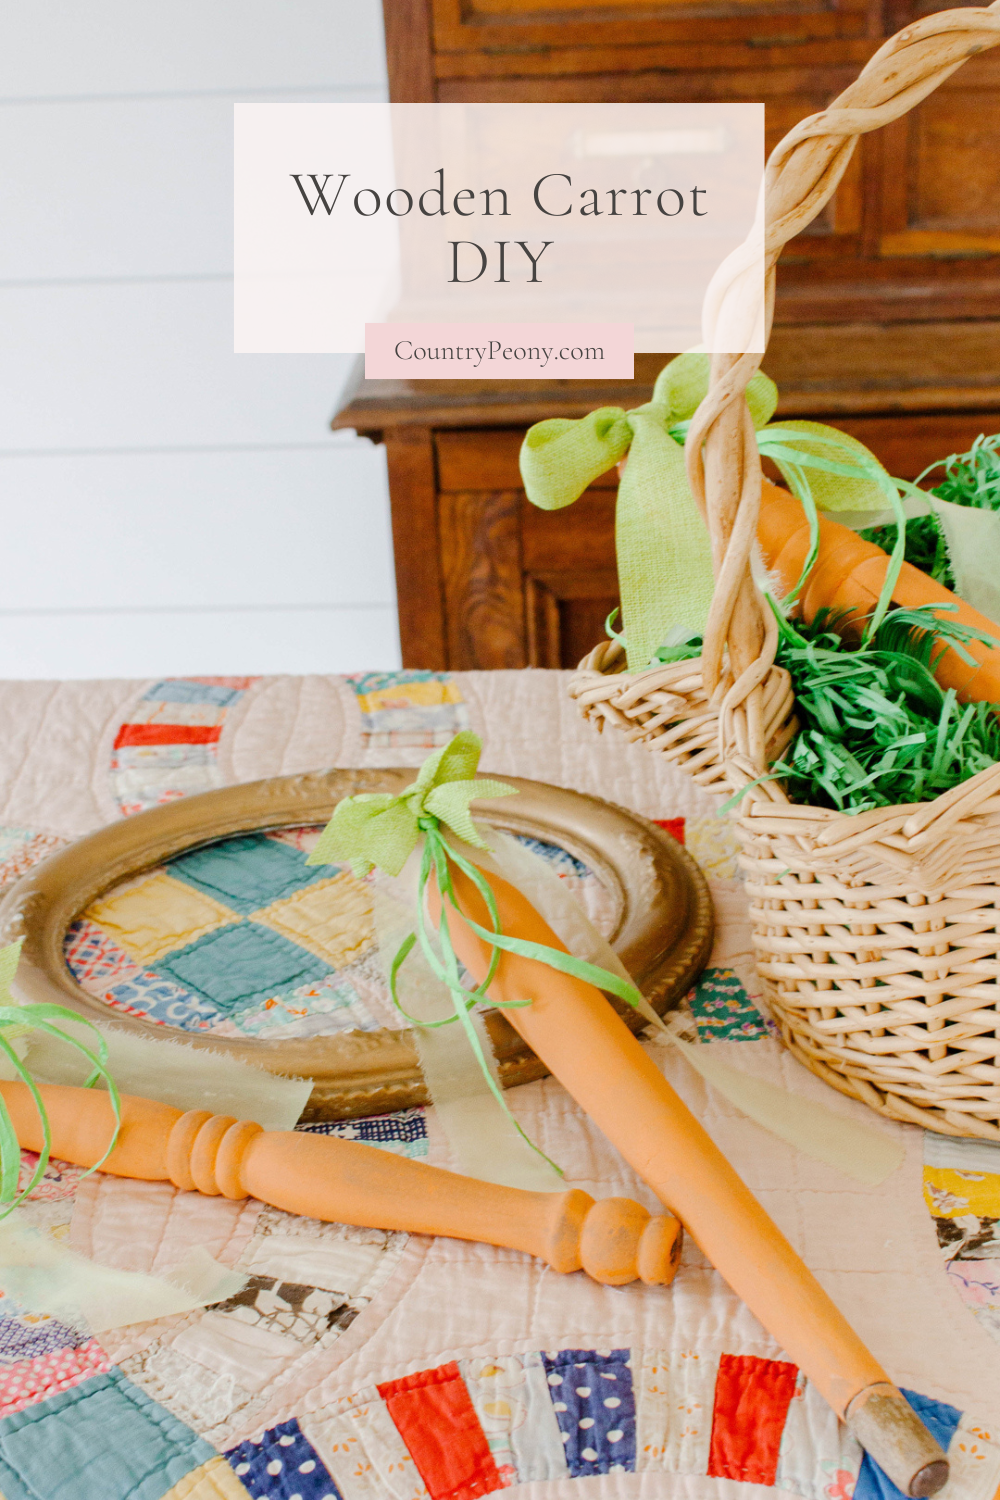
Today I have a really charming Easter craft for you using Miss Mustard Seed’s Milk Paint and vintage wooden spindles to create a wooden carrot for a beautiful Easter tablescape. I found these wooden spindles for a couple of dollars last Fall at Round Top, and I knew they would make the perfect wooden carrots. I love this project because it was very inexpensive, and it showcases how you can give something old, new life! Follow below for the full tutorial to create your own wooden carrots out of wooden spindles and Miss Mustard Seed’s Milk Paint.
Before we get started on the tutorial, I wanted to talk about Miss Mustard Seed’s Milk Paint. I love using their paint for my furniture and crafting projects. Please enjoy some projects that I created using their paint. Miss Mustard Seed’s Milk Paint is full proof as it is so easy to use, and it adds such beautiful texture to any project. I love it so much that I am an affiliate for them. Please use my code 10OFFCP for 10% off your purchase at Miss Mustard Seed’s Milk Paint. And, if you have any questions about Miss Mustard Seed’s Milk Paint, I am happy to answer them.

Please enjoy this video tutorial showcasing how to make Wooden Carrots using Miss Mustard Seed’s Milk Paint
Follow Below for the full tutorial for this Carrot Craft for Easter
Mix Miss Mustard Seed’s Milk Paint
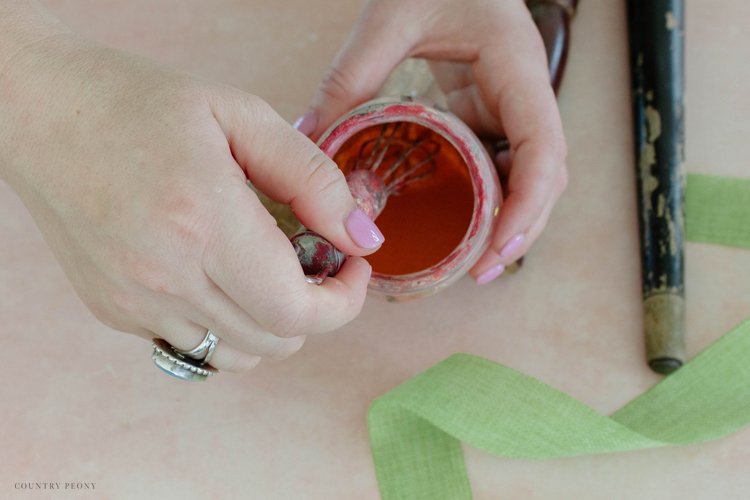
Mix 1 part paint powder to 1 part water. For this project, I used Miss Mustard Seed’s Milk Paint in tangerine to mimic the color of a carrot.
*I always recommend starting with less so you don’t waste your product. You can always make more paint later. A little bit of milk paint goes a long way especially with this small project.
Whisk the paint together with the water until the paint is fully integrated into the water.
I have found that a miniature whisk is the best mixing tool to ensure the milk powder stays fully integrated into the water.
Your paint mixture should look like a thin pancake batter once it is mixed.
Sand the Wooden Spindles to Prepare for the Milk Paint

Use a fine grit sandpaper to remove the flaky paint from the wooden spindles to prep for the milk paint.
Paint the Wooden Spindles with Miss Mustard Seed’s Milk Paint to create the Wooden Carrots

Paint 1 coat of milk paint to the entire spindle. Then, let it dry.
*The milk paint soaks into the raw wood beautifully!
*Paint over the old paint. It will add to the character of the final piece.
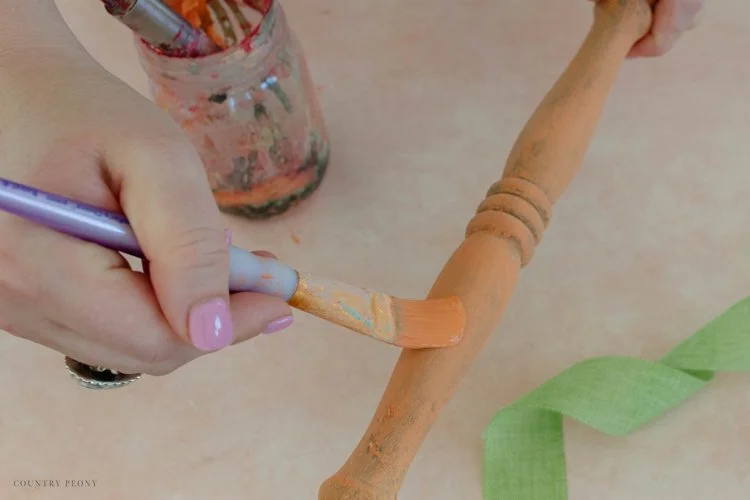
Once the first coat of milk paint is dry, paint another coat of milk paint. Two coats of milk paint total.
Attach the Ribbons to the Top of the Carrot to Finish off the Wooden Carrot

Create a simple bow out of a green ribbon. Then, set it aside.

Attach strips of green raffia (I used this one), and silk ribbon (I used the handcrafted silk ribbon from my Etsy shop for this) to the top of the painted wooden spindle with hot glue.
The more texture, the better!

Then finish off the carrot top by hot gluing the green bow to create the wooden carrot.

Trim the edges of the ribbon, then enjoy your wooden carrot.
Add the Wooden Carrot to an Easter Tablescape

Add the wooden carrots to an Easter display, and enjoy them this Spring season.
Thank you so much for following along today. I hope you enjoy experimenting with Miss Mustard Seed’s Milk Paint as much as I do!

I believe crafting is more fun when we share our projects. Please email me at elizabeth@countrypeony.com, or please tag me @thecountrypeony or #countrypeony to show me your beautiful, custom creation!