DIY Christmas Village Pom-Pom Wreath with Clover

*This post was created through a paid partnership with Clover. However, all opinions are honest and 100% my own.
*This post contains affiliate links. For more information, please see my disclosure page here.
Today I am so excited to bring you two of my favorite items in decorations: pom-poms and wreaths. Add Christmas into the mix and you have a super cute and festive holiday wreath that is sure to conjure up sweet and cozy holiday nights with this DIY Christmas Village Pom-Pom Wreath. I have been wanting to make a pom-pom wreath for Christmas for a while, and I was so thrilled to work with Clover to create this Christmas Village Pom-Pom Wreath.
If you have been here for a while you may know that I love using Clover’s pom-pom makers for my projects as you can see from the DIY Colorful Pom-Pom Christmas Tree, the DIY Pom-Pom Heart Wreath for Valentine’s Day, the DIY Pom-Pom & Tassel Bunny Garland for Easter, and more recently the DIY Pom-Pom & Tassel Bag Charm. Clover’s pom-pom makers make it so easy and fun to create consistent and cute pom-poms every time in less time. The customization of the different sizes allow you to experiment with different projects to create one-of-a-kind pieces.
For your convenience, I have created a step-by-step video so you can see how I made the pom-poms using Clover’s pom-pom maker, and then put the wreath together. Then continue below to follow the step-by-step picture tutorial to make your own DIY Christmas Village Pom-Pom Wreath just in time for Christmas.
Enjoy the video below then follow along for the step-by-step tutorial to make your own Christmas Village Pom-Pom Wreath just in time for Christmas!
Continue below for the step-by-step picture tutorial to make your own pom-pom Christmas wreath.

To make your own Christmas Village Pom-Pom Wreath and tassel bag charm, you will need:
Step 1: Make the Pom-Poms with Clover’s Pom-Pom Makers

For this project I used the 1 & 3/4 inch and the 2 & 1/2 inch pom-pom makers.
Open up the pom-pom maker. Tightly wrap the yarn around one side of the pom-pom maker arm until you have a full, consistent amount of yarn on your pom-pom arm.
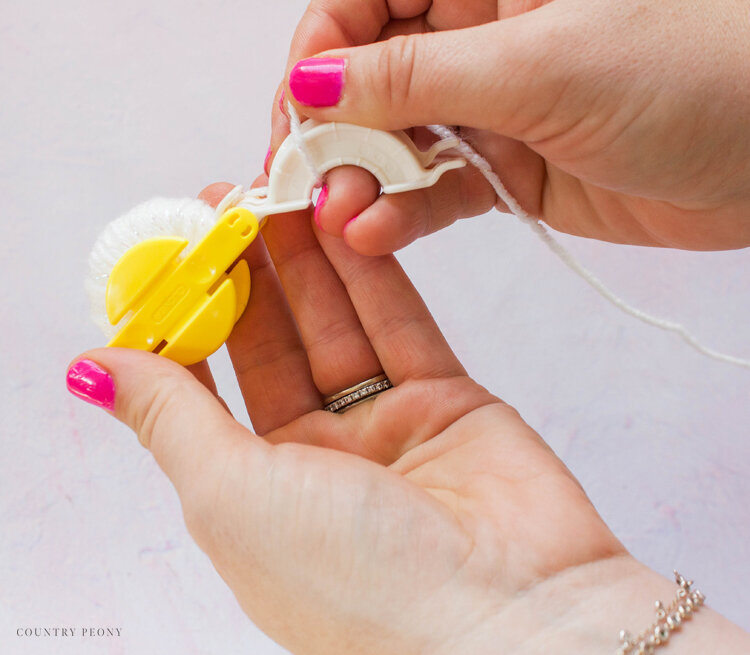
Then, close the pom-pom maker arm and carry the yarn over to the other arm. Continue to wrap until you have a full, consistent amount of yarn on your other pom-pom arm.
*Keep in mind the more yarn you add to the pom-pom maker, the fluffier and more full the pom-pom will be.
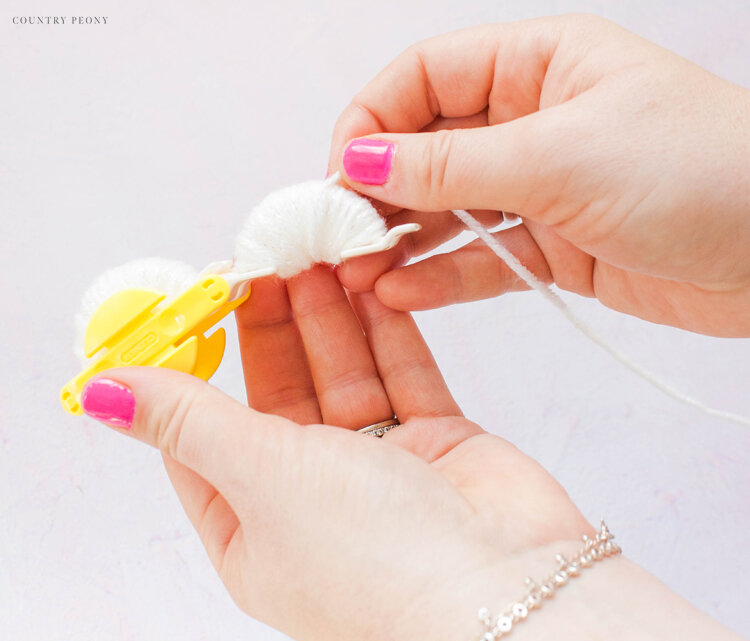
Once you have achieved the yarn fullness you are after close the arm on the other side. Snip the excess yarn.
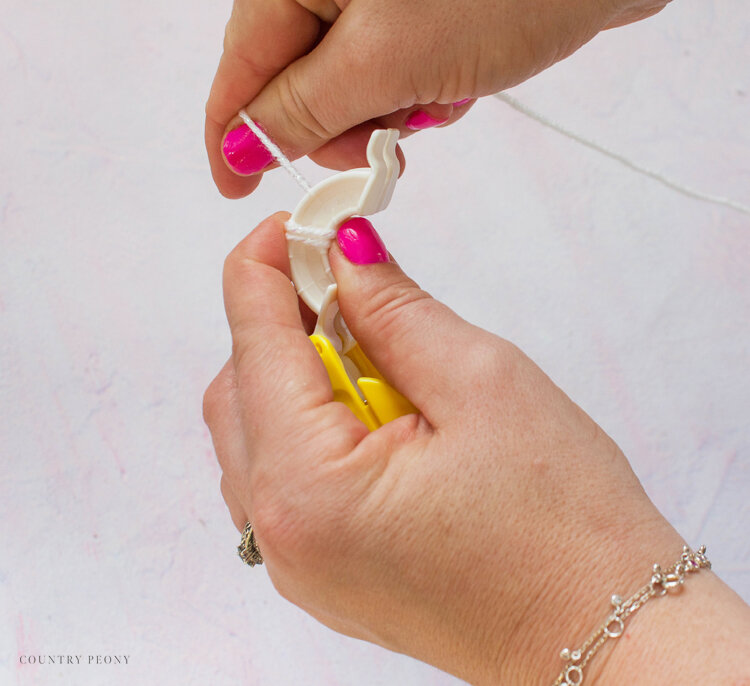
Cut a separate piece of yarn and set it aside.

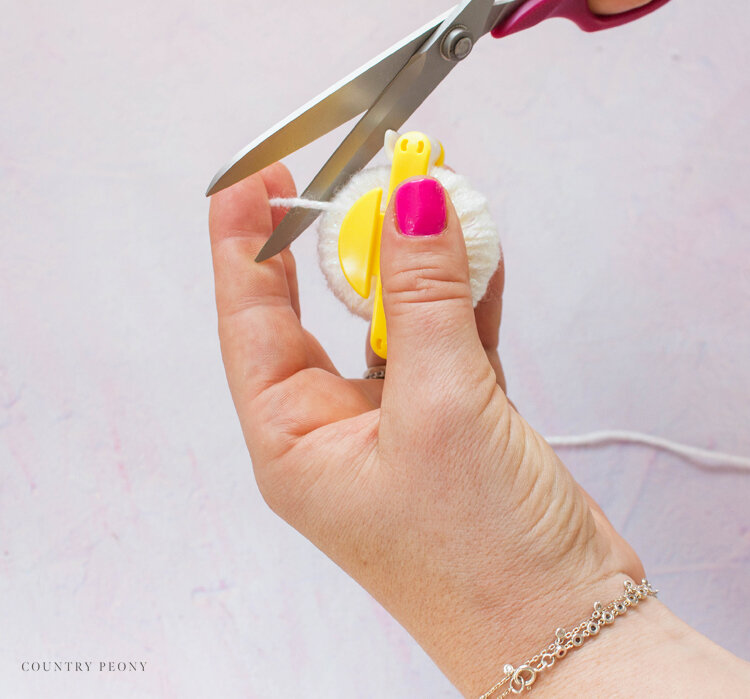
Ensure that both pom-pom arms are closed and snug, then follow the pom-pom maker guideline in between and start to the cut the yarn in half.
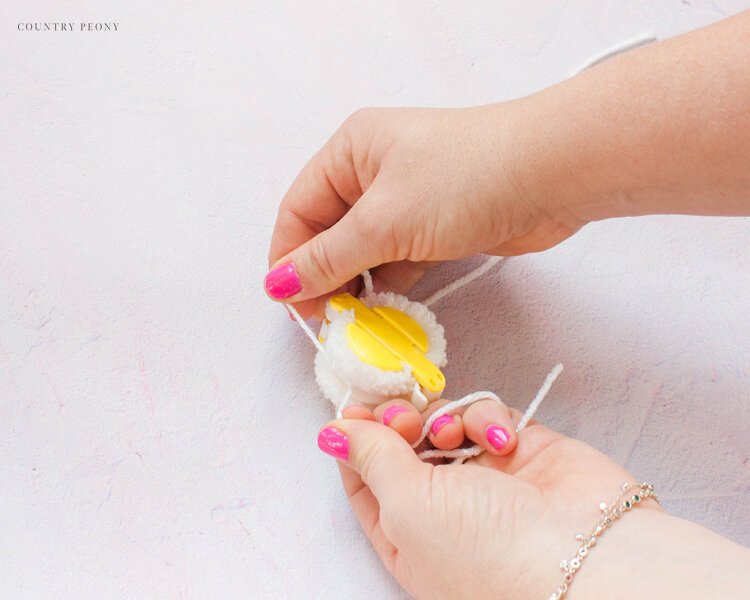
Once you cut the yarn all the way around the pom-pom maker, double knot the extra piece of yarn around the pom-pom.

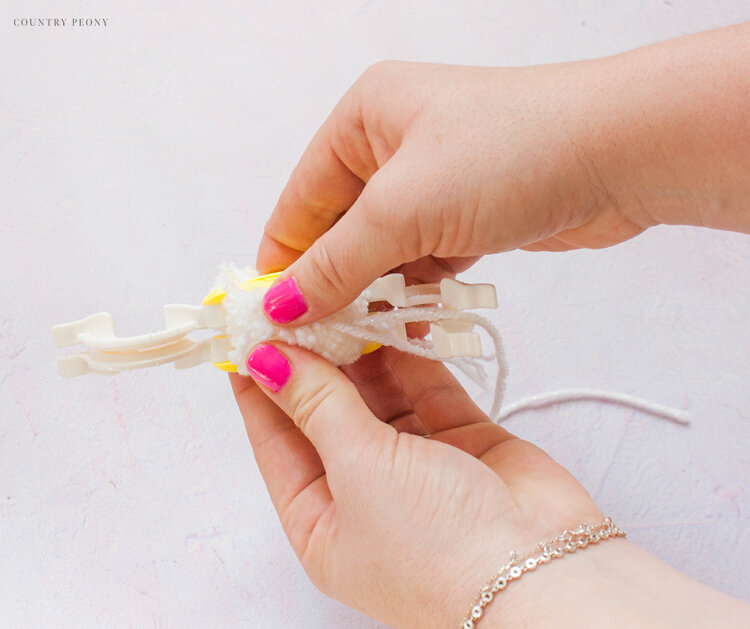
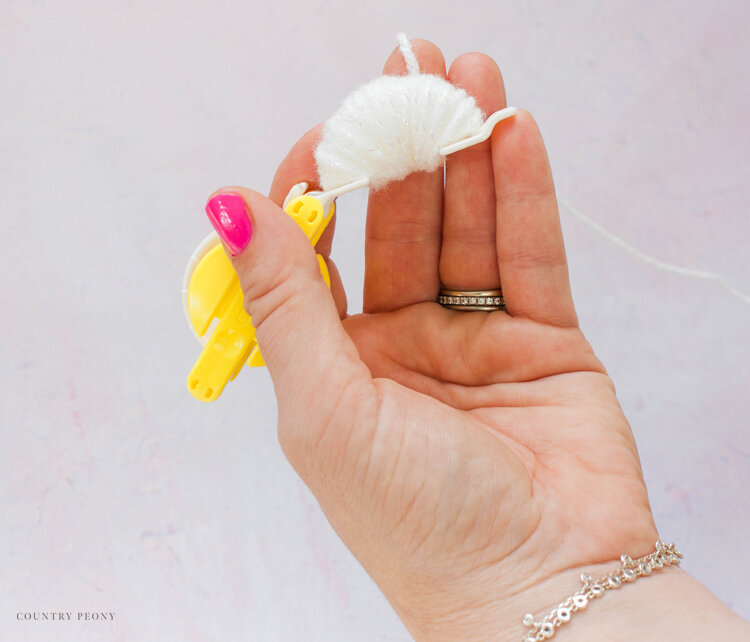
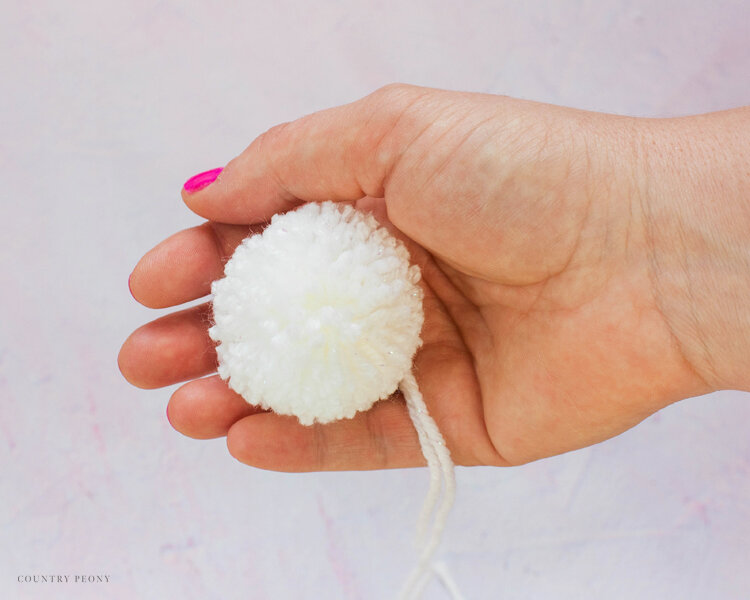
Now for my favorite part: open the pom-pom maker arms, then slowly pull the pom-pom maker apart, revealing the cutest pom-pom ever!
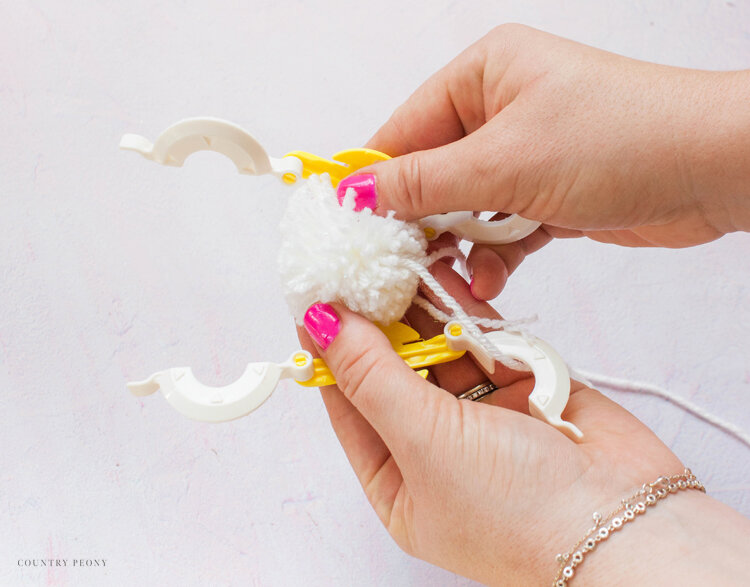

Now it is time to fine tune and give your pom-pom a little trim. Cut off any excess yarn around the pom-pom to give it a full and consistent look.
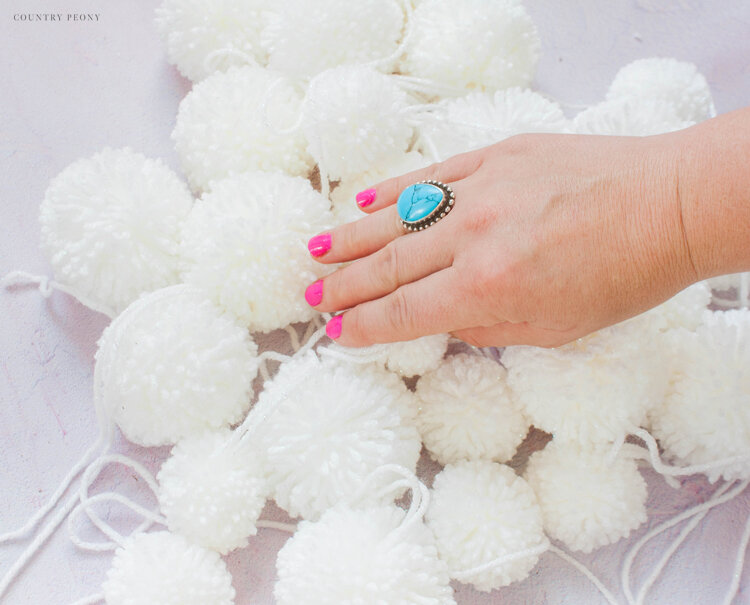
Make enough pom-poms for a wreath..
*I made 40 pom-poms, but you can choose as many as you want.
Step 2: Add the Pom-Poms to the Wreath
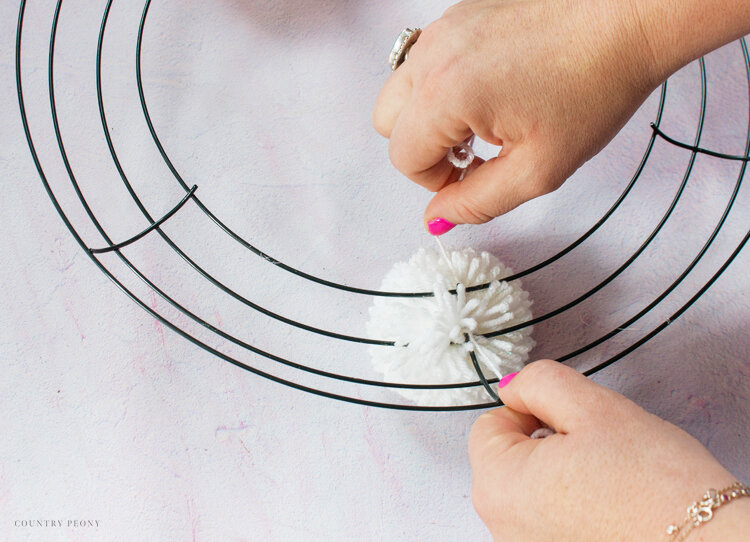
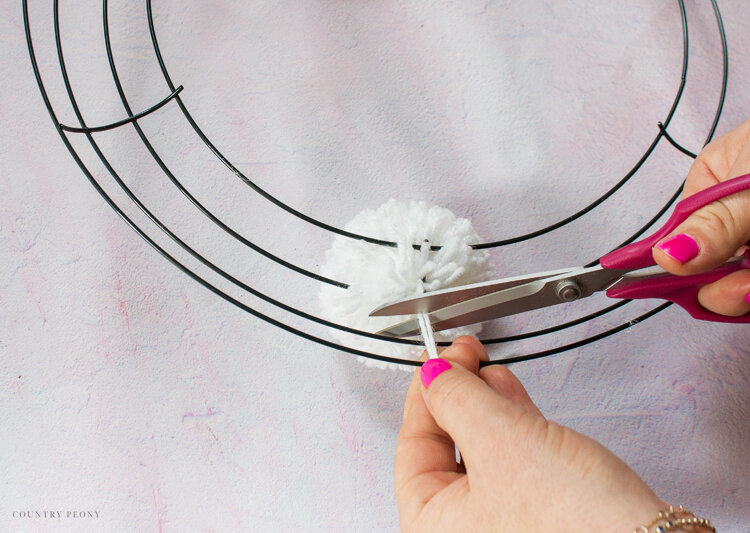
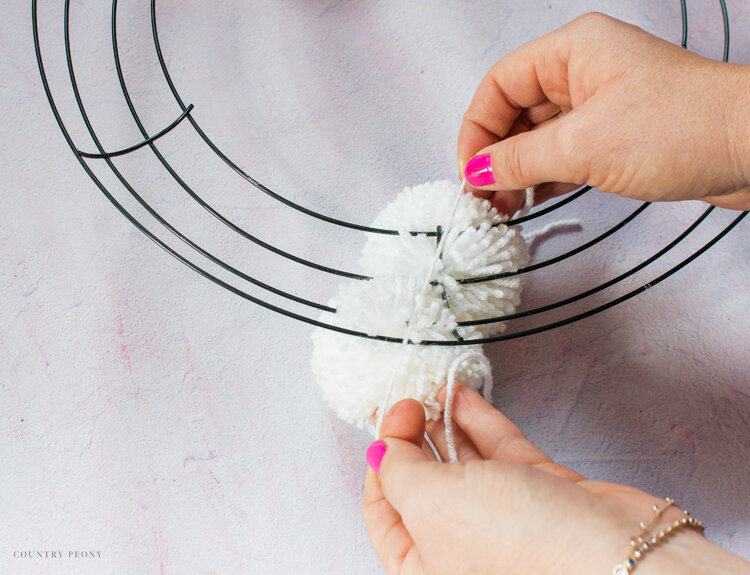
Double knot the pom-pom to the wreath frame and trim the extra yarn.
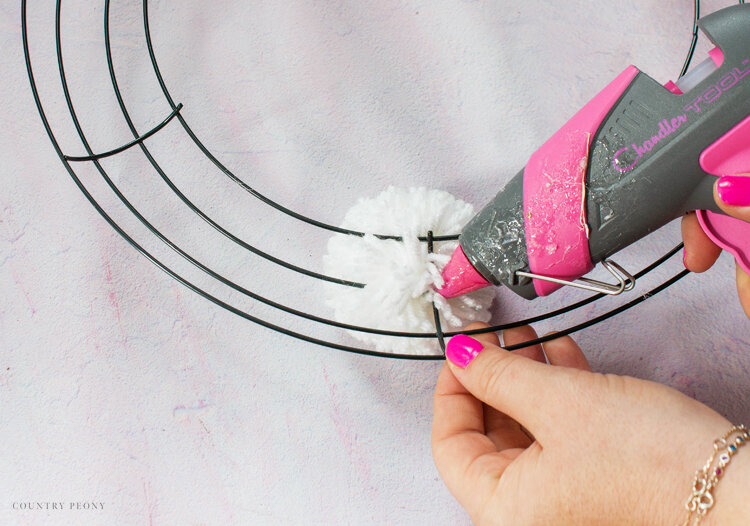
For added stability hot glue the pom-pom to the wreath frame.
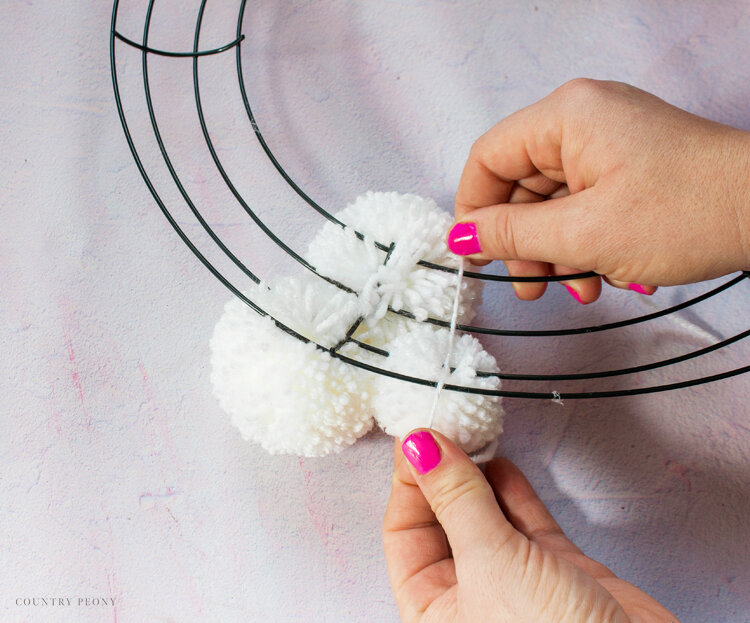
Continue to add pom-poms in different sizes right next to each other.
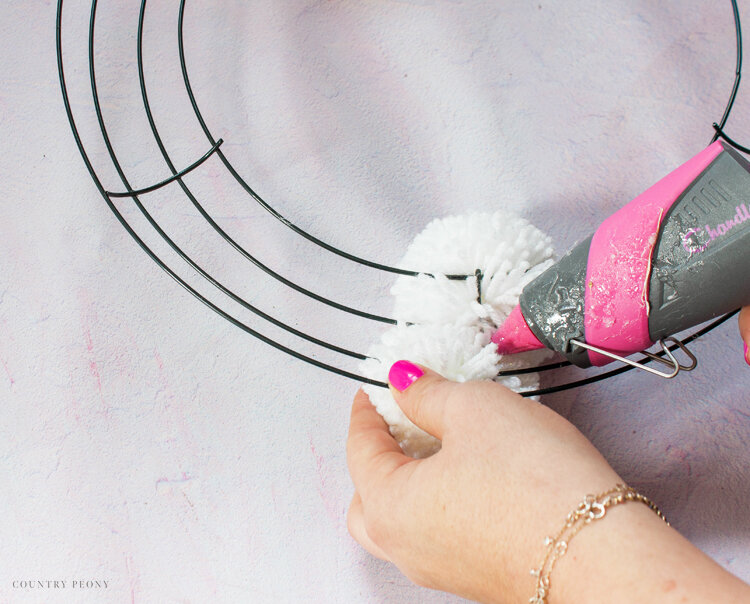
Continue to hot glue the pom-poms to the wreath and to each other.

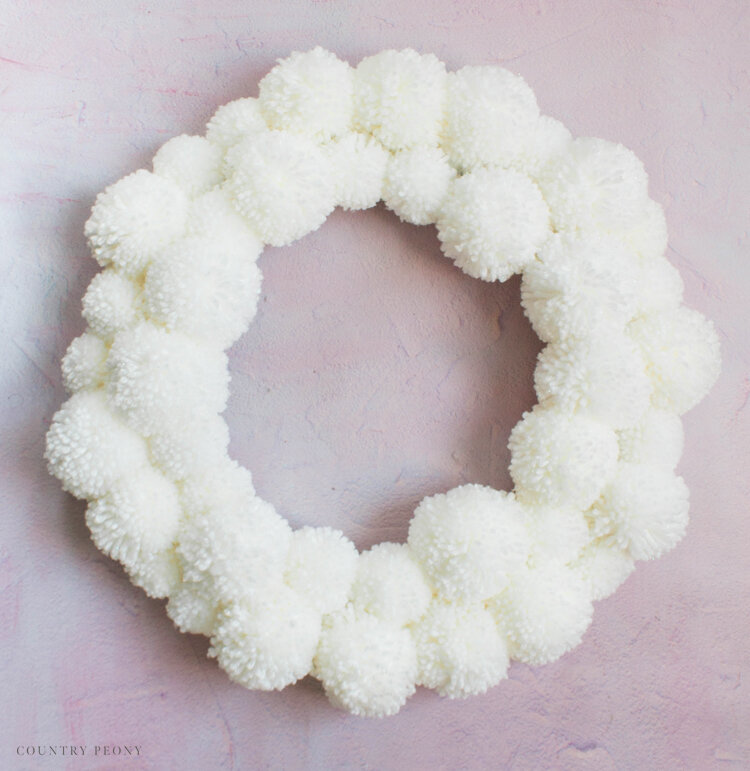
Trim the pom-poms once more after they are all together on the wreath.
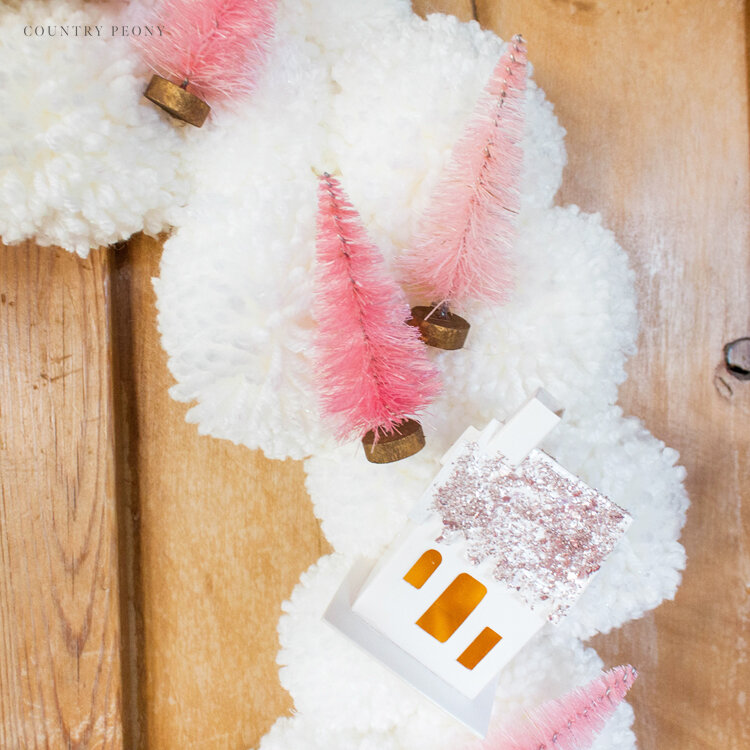
Step 3: Embellish the Christmas Village Toppers

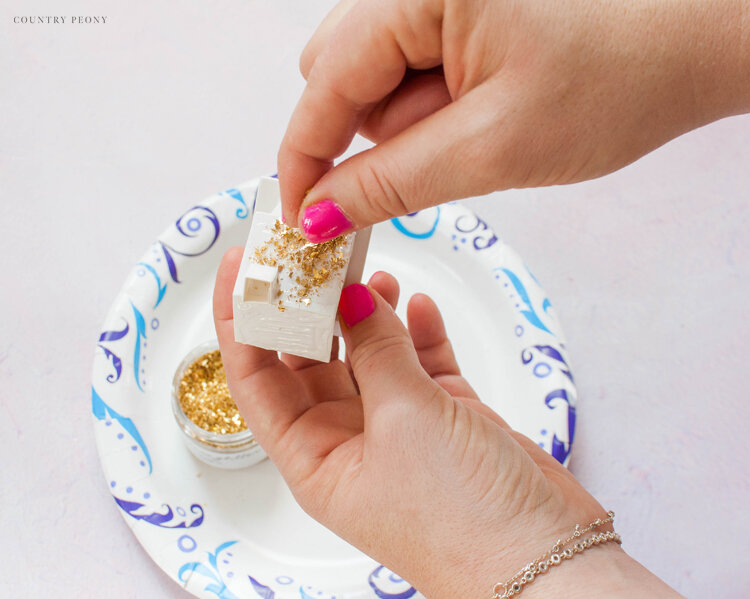
Add craft glue to the rooftops, then sprinkle on glass glitter.
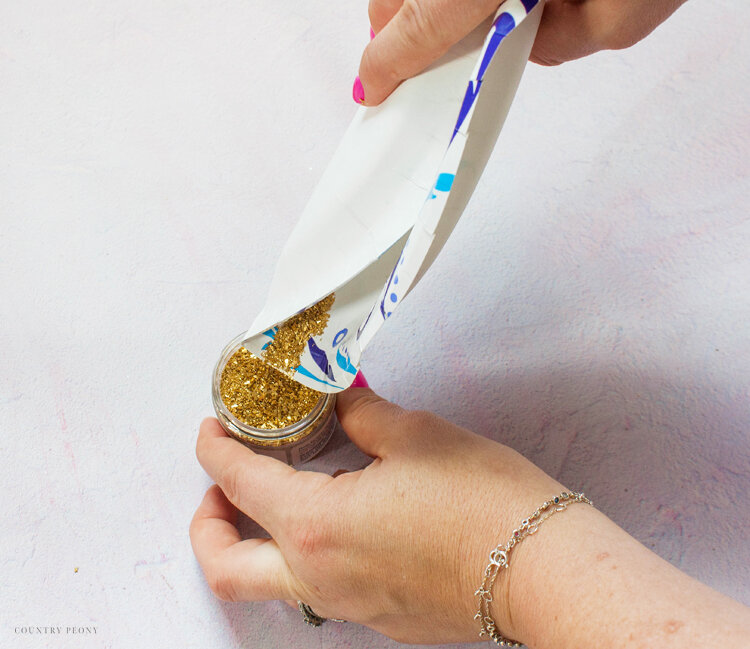

Save the leftover glitter.
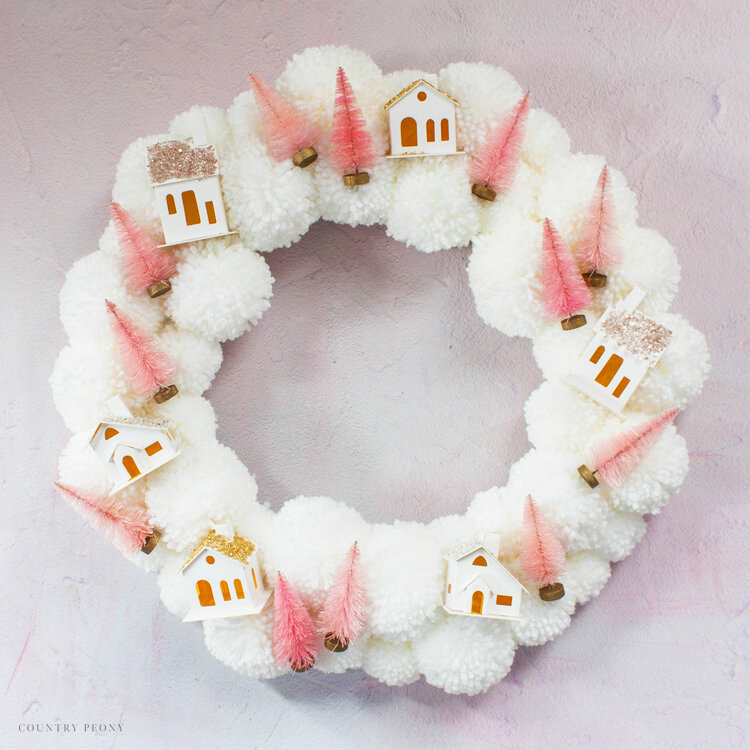
Step 4: Add the Christmas Village to the Pom-Pom Wreath
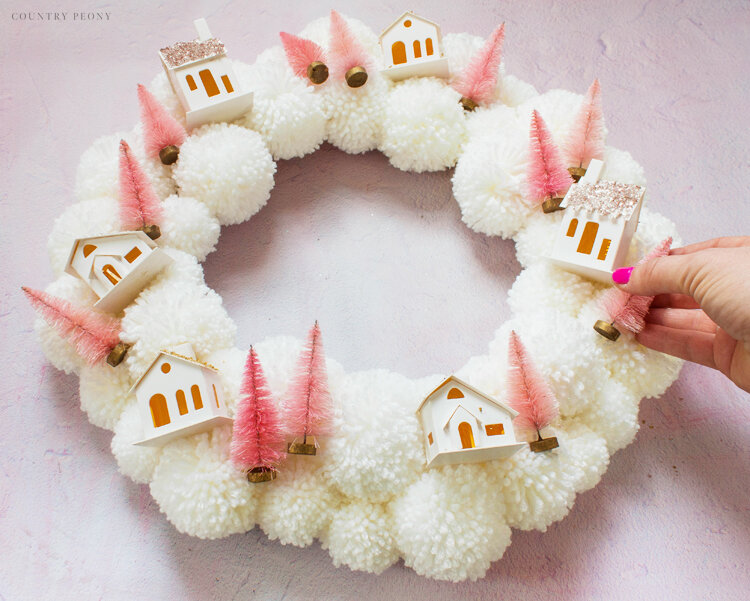

Arrange the Christmas village atop the wreath.
Nestle the trees and houses in the pom-poms.
Hot glue the Christmas village to the pom-poms on the wreath.

Step 5: Display and Enjoy Your Christmas Village Pom-Pom Wreath All Season!

Step back and enjoy your own Christmas Village Pom-Pom Wreath.
I want to thank Clover for helping me to create this sweet wreath today with their amazing pom-pom maker.

I hope you enjoy making your own festive wreath just in time for Christmas.
I believe crafting is more fun when we share our projects. Please email me at elizabeth@countrypeony.com, or please tag me @thecountrypeony or #countrypeony to show me your beautiful, custom creations!
Thank you so much for following along!


